
You can make homemade ice cream in less than 10 minutes using quick-freezing tricks like shaking a sealed bag with ice and salt or using pre-chilled ingredients and shallow containers. Electric ice cream makers can do it in about 20-30 minutes, while no-churn recipes often take under an hour. With the right techniques and tools, you can have fresh, creamy ice cream surprisingly fast—keep going, and you’ll discover how to speed up the process even more.
Key Takeaways
- Traditional churns take 20-40 minutes, but quick methods can produce ice cream in under 10 minutes.
- Using a salt and ice mixture in a sealed bag, you can make ice cream in just 5-7 minutes.
- No-churn recipes with pre-made bases can be ready in under an hour, significantly faster than traditional methods.
- Pre-chilling ingredients and containers accelerates freezing, reducing overall prep time.
- Rapid freezing techniques like shaking in salt ice or using pre-frozen containers can produce soft-serve texture in minutes.
The Traditional Method: Patience and Churning

While making ice cream the traditional way requires patience, it’s a straightforward process that relies on churning the mixture regularly. This method allows you to experiment with flavor variations by adding different extracts, fruits, or nuts. You can also customize recipes through ingredient substitutions, such as swapping cream for coconut milk or sweeteners for healthier options. The key is to keep the mixture cold and churn consistently to develop a creamy texture. Although it takes time—usually around 20 to 40 minutes of churning—you gain control over the final product and can tailor flavors to your liking. Patience is essential, but the reward is fresh, homemade ice cream with personalized flavors and ingredients, making it well worth the effort. Additionally, using the right tools and techniques can significantly improve your ice cream’s texture and flavor.
Using a Freezer Bag Technique for Instant Results
To make ice cream quickly, start by preparing a mixture of ice and salt in a small bag. Shake it continuously until the texture firms up, then check if it’s frozen enough. This simple method can give you instant frozen treats with minimal effort. Monitoring temperature can help ensure the ice cream reaches the desired consistency efficiently.
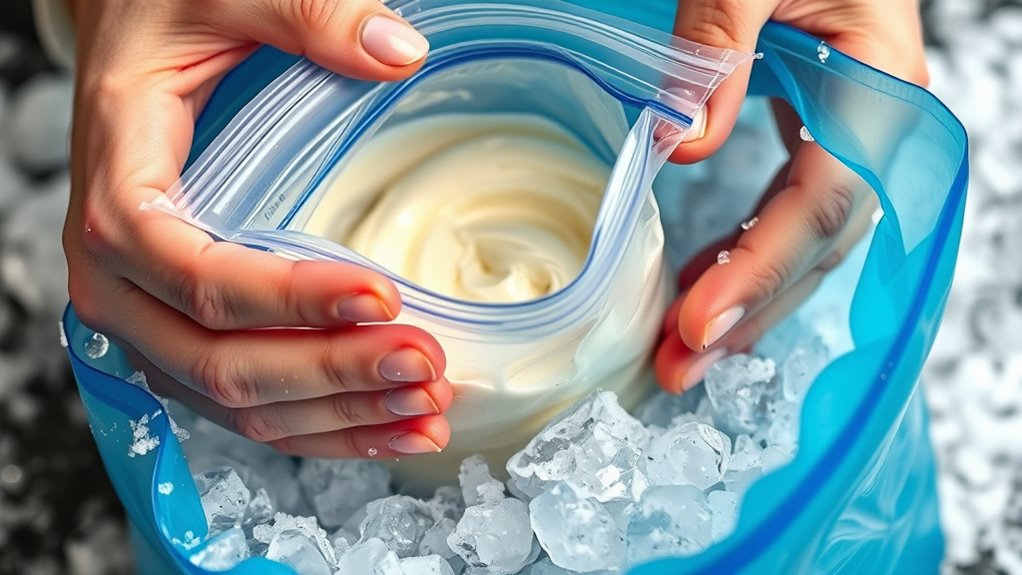
Prepare Ice and Salt
Preparing ice and salt is a quick way to chill your ice cream mixture instantly. To do this, fill a large freezer bag with your ice cream mixture, then place it inside a larger bag filled with ice and salt. The salt lowers the freezing point, rapidly cooling your mixture. Keep in mind, this method is perfect for immediate results and customizing your ice cream flavor variations.
Using the right climate control techniques can further optimize the process and ensure consistent results. To get started, ensure you have:
- Plenty of ice to surround the bag
- Salt to accelerate the freezing process
- An additional layer of insulation, like a towel
- A timer to monitor the chilling time
This technique works well for quick ice cream storage and experimenting with different flavors, making homemade ice cream faster and more fun!
Shake Continuously Well
By shaking the ice cream mixture vigorously inside a well-sealed freezer bag, you can achieve rapid freezing results. Keep shaking continuously well to guarantee even cooling and prevent ice crystals from forming unevenly. This constant movement helps the mixture freeze faster, giving you a smoother texture in less time. As you shake, you’re also promoting flavor infusion, ensuring every bite is deliciously balanced. Be sure to apply consistent pressure and rotate the bag frequently to avoid hot spots and overworking one side. The more consistent your shaking, the better the texture and flavor will turn out. Incorporating pimple patches can also help soothe any skin irritation that might occur from handling the mixture repeatedly. This simple technique is effective for quick results, turning your ingredients into homemade ice cream in a fraction of the traditional freezing time.
Check for Frozen Texture
How can you tell when your ice cream is perfectly frozen and ready to enjoy? Check the texture for signs of proper freezing consistency and texture preservation. Take a small scoop and gently press it with your finger or spoon; if it feels firm but not icy or granular, it’s ready. Here are some tips to confirm:
- The ice cream should hold its shape without melting instantly
- It should feel firm but not rock-hard
- No icy or sandy texture should be detectable
- When shaken in a freezer bag, it should resist movement and feel solid
- Incorporating protective styling benefits can help maintain the ice cream’s texture by preventing air exposure that causes freezer burn.
Using this method helps ensure your ice cream maintains the ideal texture preservation, so it’s smooth and creamy when served. Trust these cues for instant verification of frozen texture.
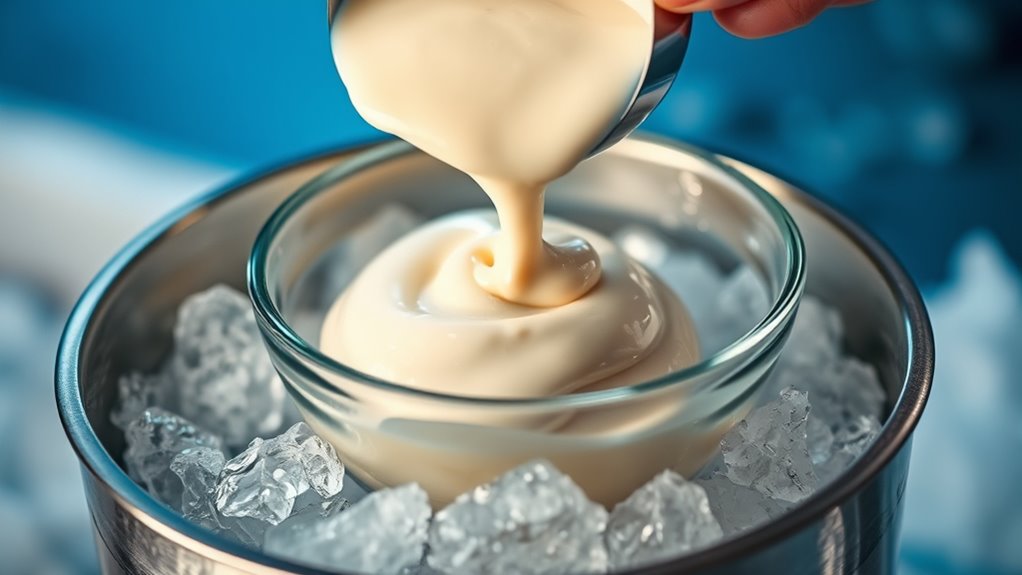
The Ice and Salt Method: A Fast Track to Frozen Delight

The ice and salt method is one of the quickest ways to make homemade ice cream, leveraging a simple chemical reaction to freeze your mixture rapidly. When you add salt to the ice, it causes salt sublimation, lowering the ice’s temperature markedly. This process creates an ultra-cold environment that accelerates the freezing of your ice cream base. As the salt dissolves, it prevents ice crystals from forming large, chunky structures, resulting in a smoother texture. The rapid cooling minimizes the time needed for the mixture to turn into ice cream, making it an efficient technique. You’ll notice your mixture thickening quickly as the salt and ice work together to deliver fast, consistent freezing, giving you delicious ice cream in a fraction of the usual time. Incorporating proper technique ensures the best texture and flavor for your homemade treat.
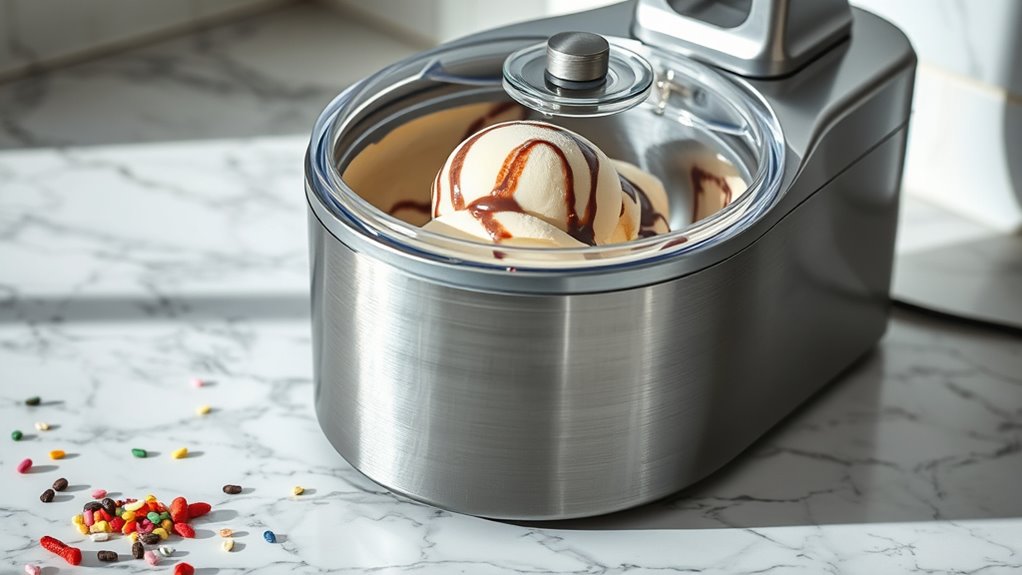
Electric Ice Cream Makers: Speeding Up the Process
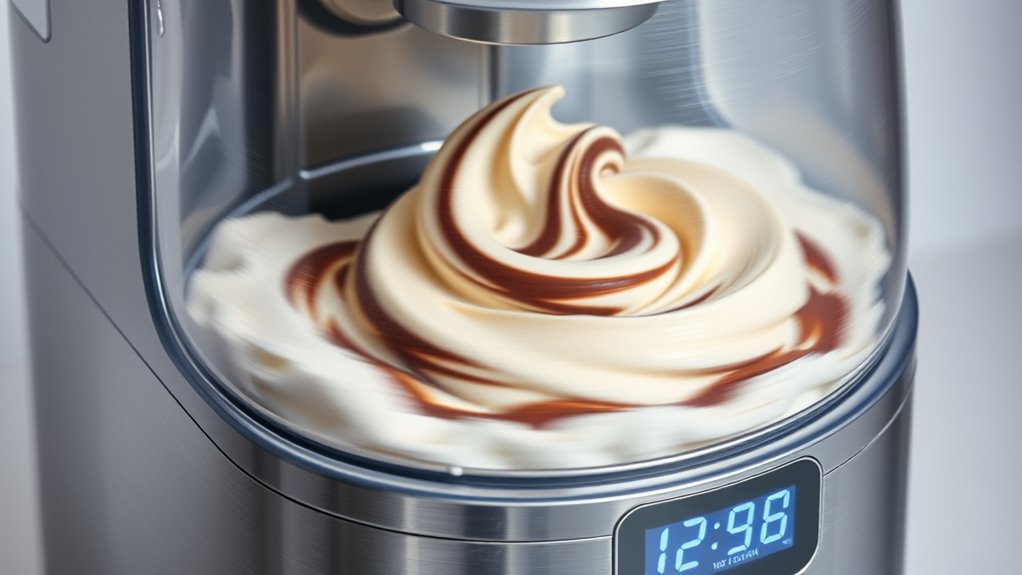
Electric ice cream makers considerably cut down the time it takes to make homemade ice cream. They churn your mixture quickly, often in 20-30 minutes, saving you hours compared to traditional methods. With these machines, you can experiment with various flavor combinations, adding ingredients like fruit, chocolate, or nuts during the process. Once your ice cream is ready, keep these storage tips in mind:
- Use airtight containers to prevent freezer burn
- Label with date to track freshness
- Keep in the coldest part of your freezer
- Allow it to soften slightly before serving
Electric makers make it easier to enjoy fresh, homemade ice cream faster. Plus, they give you more control over flavors, ensuring your treat is perfectly tailored to your taste. High refresh rates in some machines can further improve the churning process, making it even quicker and more efficient.
No-Churn Recipes for Rapid Homemade Ice Cream
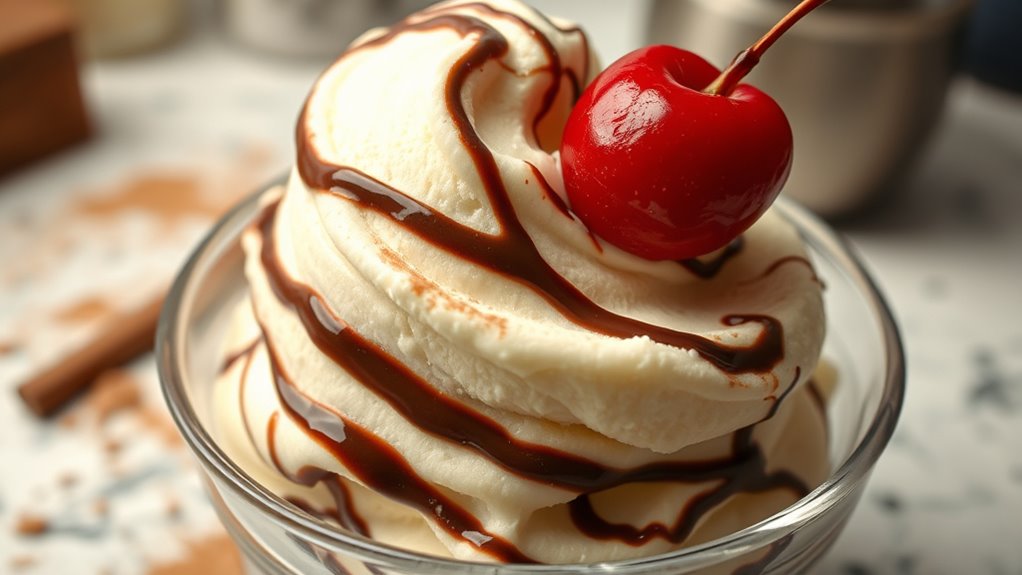
Without the need for specialized equipment, no-churn ice cream recipes let you whip up delicious treats in under an hour. You simply mix ingredients like heavy cream, sweetened condensed milk, and your favorite flavor combinations—think chocolate and peanut butter, strawberry and basil, or vanilla with cookies. Once combined, pour the mixture into a container and freeze. To prevent ice crystals and guarantee creamy texture, cover tightly and store it in an airtight container. Storage tips include layering plastic wrap over the surface before sealing and keeping the ice cream in the coldest part of your freezer. Self Watering Plant Pots can help keep your homemade ice cream consistently frozen and prevent melting if you need to take a break during making or serving. These quick recipes are perfect for spontaneous cravings and allow you to explore endless flavor combinations without waiting hours or needing special equipment.
Leveraging Freeze Time With Pre-Made Base Mixtures
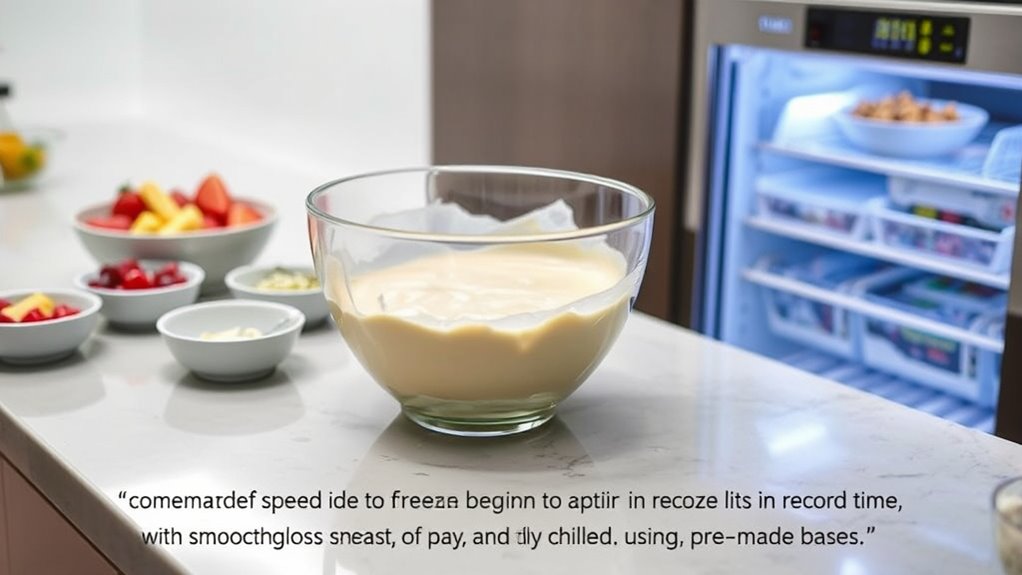
Using pre-made base mixtures can considerably cut down your ice cream preparation time. When you chill the mixture beforehand, it freezes faster and more evenly. Plus, this method helps you achieve a smooth, consistent texture every time. Incorporating professional equipment can further enhance the quality and speed of your homemade ice cream.
Preparing Premade Bases
Preparing premade ice cream bases can substantially cut down your freezing time, allowing you to enjoy homemade ice cream faster. By starting with a ready-made base, you skip the lengthy mixing process and focus on customizing flavors. You can experiment with various flavor combinations, like vanilla-bean with swirls of caramel or chocolate-mint with crushed cookies. These bases also make serving suggestions easier—simply scoop and serve or add toppings for a quick treat. To maximize efficiency:
- Use store-bought or pre-mixed bases for convenience
- Incorporate your favorite flavor mix-ins beforehand
- Chill the base thoroughly before freezing
- Experiment with different flavor combinations for variety
This approach streamlines your process, making homemade ice cream both faster and more enjoyable.
Chilling Accelerates Freezing
Chilling your premade ice cream base thoroughly before freezing considerably speeds up the overall process. When the mixture is cold, it freezes faster, reducing waiting time and improving texture. This technique also preserves flavor combinations and ensures a smoother, creamier result. To optimize, use a shallow container and stir occasionally during freezing. Incorporating chilling techniques can further enhance the efficiency of the freezing process. Here’s a quick guide to flavor combinations and serving suggestions:
| Flavor Combinations | Serving Suggestions | Tips |
|---|---|---|
| Chocolate & Mint | Cone or bowl | Chill base overnight |
| Vanilla & Berries | Sundaes | Use cold ingredients |
| Coffee & Caramel | Milkshakes | Pre-cool mixing tools |
Chilled bases help you enjoy homemade ice cream faster and with better flavor.
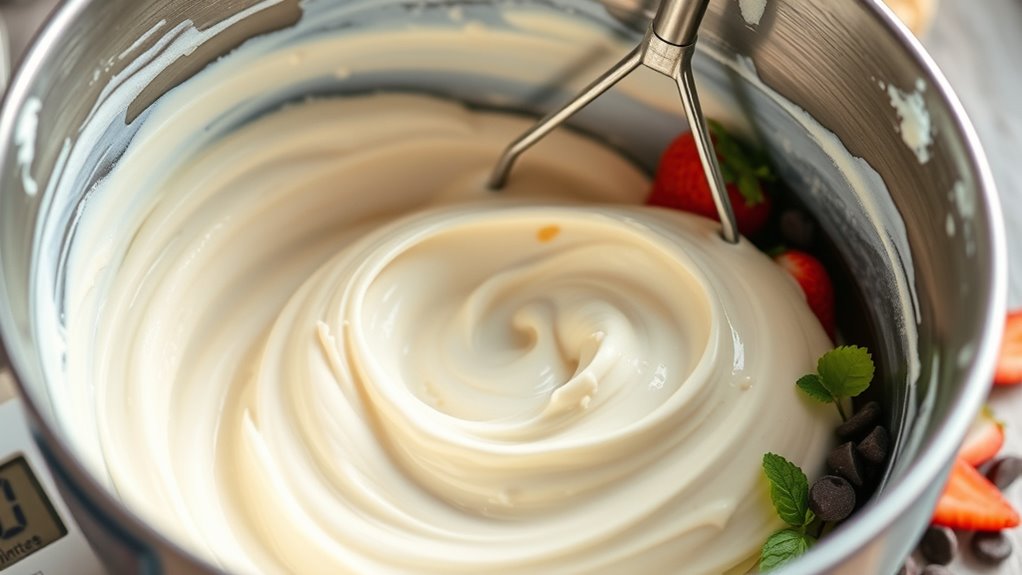
Consistency in Texture
Achieving a smooth, creamy texture depends heavily on how you leverage the freeze time of your pre-made base mixtures. Properly managing this phase guarantees your ice cream reaches the ideal consistency. To enhance texture, consider these tips:
- Chill your mixture thoroughly before freezing to prevent ice crystal formation.
- Stir or pulse during initial freezing to promote even consistency.
- Experiment with flavor combinations that complement each other, avoiding overly watery ingredients.
- Use proper storage tips, like airtight containers, to prevent freezer burn and maintain smoothness.
Tricks to Accelerate Ice Cream Freezing at Home
To speed up the freezing process, you can take advantage of several simple tricks that make your ice cream firm up faster. One effective method is to pre-chill your mixing bowl and ingredients, which helps lower the overall temperature. Additionally, adding a small amount of alcohol or salt to your mixture can prevent large ice crystals from forming, speeding up freezing. When it comes to flavor combinations, avoid mixing in ingredients that contain excess moisture, as they slow down the process. Proper storage tips also matter: place your ice cream in a shallow, airtight container and press a piece of plastic wrap directly on the surface to prevent ice crystals. These techniques guarantee quicker freezing without sacrificing texture or flavor. Incorporating proper temperature control can further enhance the efficiency of the freezing process.
How to Make Ice Cream in Under 10 Minutes
If you’re enthusiastic to enjoy homemade ice cream in just 10 minutes, you can do so by using a quick-freezing method that combines rapid chilling with a sturdy shake. Start with a basic ice cream mixture, adding flavor infusions like fruit purees or extracts for extra zest. Shake the mixture vigorously in a sealed, sturdy bag to incorporate air and create a creamy texture. Then, place the bag in a well-chilled ice-salt mixture or a pre-frozen container to speed up freezing. To achieve texture variations, try layering ingredients like chocolate chips or nuts during shaking. Keep shaking for about 5-7 minutes until the mixture firms up. This method delivers quick, customizable ice cream with diverse flavors and textures in record time. For additional tips, consider utilizing proper freezing techniques to improve the consistency and quality of your homemade ice cream.
Frequently Asked Questions
Can I Make Ice Cream Instantly Without Any Special Equipment?
You wonder if you can make ice cream instantly without special equipment. With DIY methods like the instant freeze trick—using a zip-top bag filled with milk, cream, and flavor, surrounded by ice and salt—you can create a quick treat in minutes. While it’s not true instant ice cream, it’s a fun hack that speeds up the process, letting you enjoy homemade ice cream much faster than traditional methods.
What’S the Fastest Way to Get Soft-Serve Quality Ice Cream at Home?
You can achieve soft-serve quality ice cream quickly by using quick freezing techniques. Start with a chilled mixture, then churn it in a high-speed blender or ice cream maker for a few minutes. For even faster results, freeze the mixture in a shallow dish and stir every 20-30 minutes until it reaches the perfect ice cream texture. This method guarantees smoothness and creaminess without long wait times.
Does Adding Alcohol or Sugar Speed up the Freezing Process?
Adding alcohol impacts freezing, as it lowers the mixture’s freezing point, so it won’t freeze as quickly. Sugar also affects freezing, since it delays solidification and keeps the ice cream softer longer. If you want faster results, avoid excessive alcohol and sugar. Instead, focus on chilling your base thoroughly and using a fast-freezing method to speed up the process without compromising texture.
How Long Does It Take for No-Churn Recipes to Become Scoopable?
Imagine waiting for a snowball to freeze midair—that’s how patience feels when waiting for no-churn ice cream to become scoopable. Usually, it takes about 4-6 hours in the freezer for proper texture development and flavor enhancement. During this time, the mixture solidifies, ensuring a creamy, scoopable consistency. Rushing this step risks a mushy texture, so give it time, and enjoy your homemade treat at its best.
Are There Quick Methods Suitable for Large Batches of Homemade Ice Cream?
You can speed up making large batches of homemade ice cream by using commercial freezers, which chill faster than standard ones. To handle bigger batch sizes efficiently, pre-chill your mixture thoroughly and use larger, insulated containers. Stirring regularly during freezing helps prevent ice crystals, ensuring smooth texture. These quick methods cut down wait times, letting you enjoy your homemade ice cream sooner without sacrificing quality.
Conclusion
Now that you know the tricks to speed up ice cream making, imagine the possibilities. Could you master a batch in just minutes? The secret techniques are within your reach, waiting to be discovered. With a little practice, you’ll be surprising friends and family with homemade treats faster than ever. Are you ready to *unleash* the fastest way to satisfy your sweet tooth? The next scoop could be just moments away—are you prepared to try?