
Yes, making ice cream without a machine definitely works! You can create smooth, creamy ice cream by blending your ingredients, then freezing and stirring regularly to break up ice crystals. Using salty ice or ice-salt mixtures speeds up the process and improves texture. With simple techniques, quality ingredients, and some patience, you can enjoy homemade ice cream similar to store-bought. Keep going to discover detailed tips for perfect results.
Key Takeaways
- Yes, you can make smooth, creamy ice cream at home without a machine using methods like freeze-and-stir or bag shaking.
- Proper stirring during freezing prevents large ice crystals, mimicking the churning process of commercial machines.
- Using salty ice or ice-salt mixtures speeds up freezing and enhances texture without specialized equipment.
- Incorporating stabilizers, cream, and flavorings improves creaminess, making homemade ice cream comparable to store-bought.
- Regular manual agitation during freezing is essential to achieve a smooth, scoopable, machine-like consistency.
Understanding the Basic Principles of Homemade Ice Cream
To make homemade ice cream without a machine, it’s essential to understand the basic principles behind how it freezes and thickens. Ice cream science reveals that freezing alters the mixture’s texture by forming ice crystals, which influence creaminess. Effective freezing techniques involve controlling temperature and agitation to prevent large crystals, ensuring smoothness. When you chill your mixture, you’re slowing down crystal formation, but to achieve the right consistency, you need to incorporate air and sometimes gently stir or shake it during freezing. These processes help produce a creamy, scoopable ice cream. Recognizing how ingredients like fats, sugars, and stabilizers interact during freezing allows you to tweak recipes for better results. Additionally, understanding the contrast ratio can help you optimize your freezer conditions for ideal ice cream texture. Mastering these principles makes homemade ice cream both easier and more delicious.
Popular Methods for Making Ice Cream at Home Without Equipment

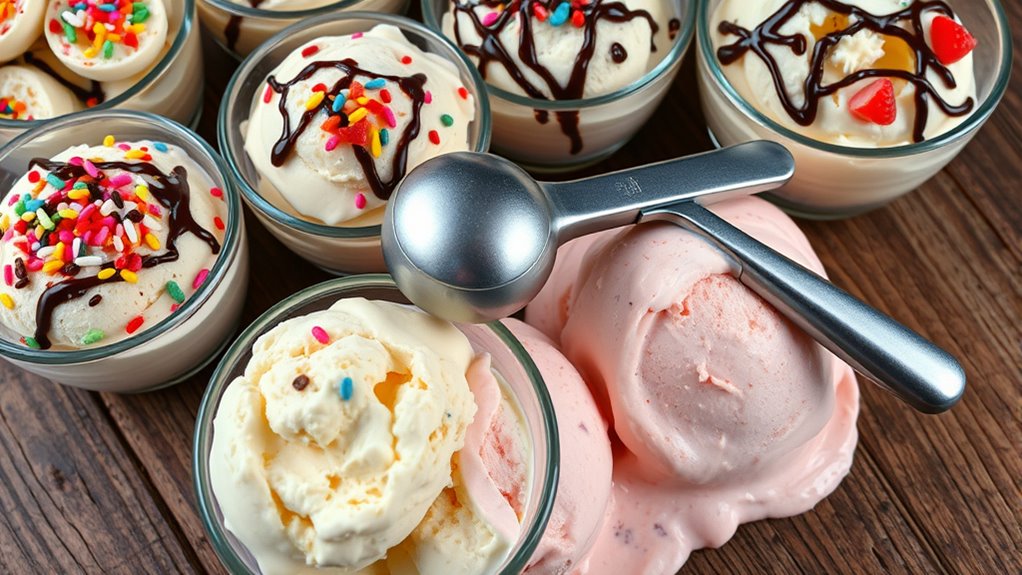
There are several popular methods to make ice cream at home without specialized equipment, and each relies on different techniques to achieve a creamy texture. One common approach is the freeze-and-stir method, where you mix your favorite ice cream flavors and periodically stir the mixture during freezing to prevent ice crystals. Another popular option is the bag method, using small and large zip-top bags to shake ingredients until thickened. Proper storage containers help maintain freshness and prevent ice crystals from forming. To help you choose, here’s a quick comparison:
| Method | Key Feature | Best For |
|---|---|---|
| Freeze & Stir | Manual stirring during freezing | Smooth, customizable flavors |
| Bag Method | Shaking in sealed bags | Quick, portable options |
| No-Churn | Using whipped cream or condensed milk | Easy, no equipment needed |
Additionally, understanding the importance of self-reflection can help you refine your ice cream-making process by evaluating what techniques work best for your preferences.
Step-by-Step Guide to the Freezing and Stirring Technique
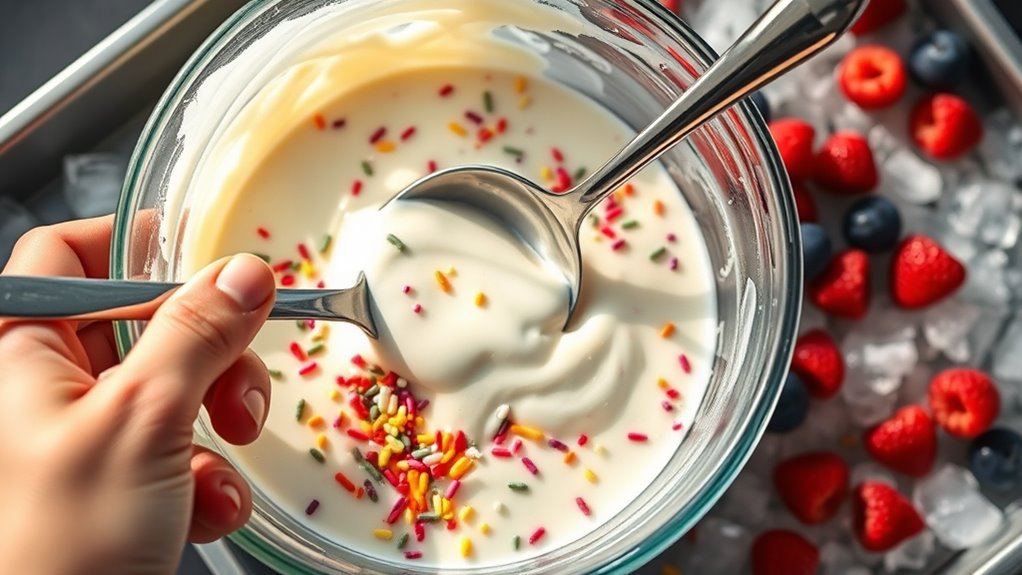
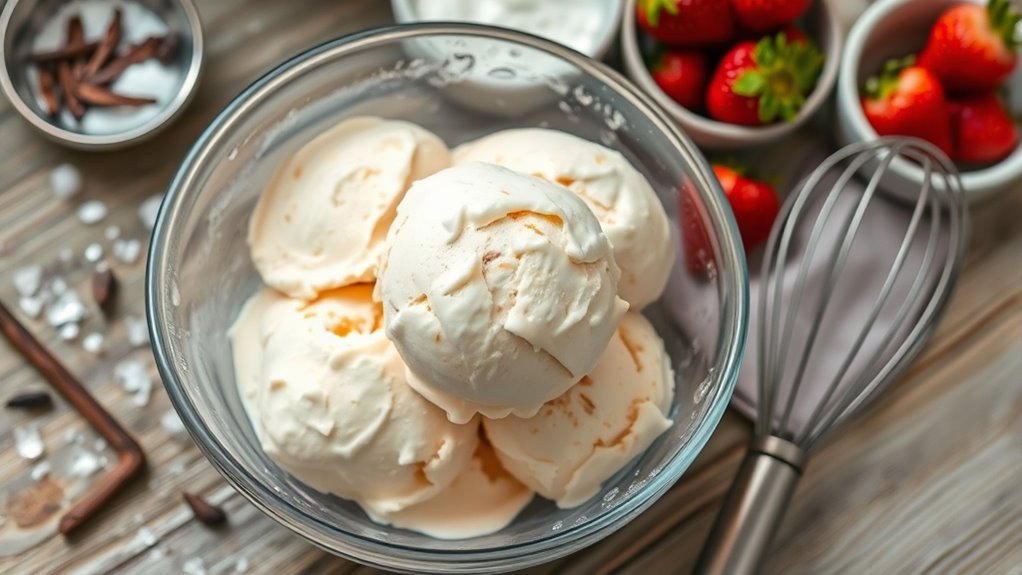
To get the best ice cream, keep your mixture in the freezer for about 2 to 3 hours, checking it regularly. When it’s frozen but still soft, take it out and stir vigorously to break up ice crystals. Repeat this freezing and stirring process every 30 minutes until your ice cream reaches the desired creamy consistency. For an authentic texture, consider adding natural ingredients like fresh fruit or vanilla extract to enhance flavor and quality.
Freezing Timing Tips
When freezing your homemade ice cream, timing is essential to achieve the perfect creamy texture. Typically, allow it to freeze for about 2 to 4 hours, checking every 30 minutes after the first hour. This prevents it from becoming too hard and ensures a smooth consistency. For flavor variations, add mix-ins or swirls during the last stirring cycle to avoid over-freezing. Proper storage tips also matter: keep your ice cream in an airtight container to prevent freezer burn and flavor transfer. If you plan to store it longer than a few days, consider placing a piece of parchment paper directly on the surface before sealing. Additionally, understanding the best anime movies can inspire fun themes for your ice cream creations or movie nights, making the experience even more enjoyable. Timing your freeze and stir intervals carefully helps you create delicious, scoopable ice cream with the ideal texture every time.
Proper Stirring Method
Getting the perfect creamy texture relies on mastering the stirring method during freezing. You should use proper mixing techniques to prevent ice crystals from forming and guarantee smoothness. Every 30 to 45 minutes, take your mixture out and stir vigorously with a spatula or whisk, breaking up ice crystals and promoting even freezing. Keep an eye on temperature control by placing the container in the coldest part of your freezer, ideally around 0°F (-18°C). Consistent stirring helps incorporate air and maintain a creamy consistency. Don’t forget to work quickly during each stirring session to prevent the mixture from becoming too icy. Using an infuser can help evenly distribute flavors and improve texture during the process. With careful mixing techniques and temperature control, you’ll produce homemade ice cream that’s just as good as store-bought.
Using Salty Ice and Ice Salt Mixtures for Faster Freezing

Adding salt to ice lowers its freezing point, which speeds up the freezing process for your ice cream. Using a salty ice and ice salt mixture creates a colder environment, helping your mixture freeze faster. Find the right salt-to-ice ratio to maximize efficiency without making the mixture too salty or too icy.
Salt Lowers Freezing Point
Using a salty ice mixture can considerably speed up the freezing process for your homemade ice cream. Salt lowering is the key mechanism behind this, as it decreases the ice’s freezing point. When you add salt to ice, it causes the ice to melt at temperatures below 0°C (32°F), creating a colder environment around your mixture. This enhanced coldness helps your ice cream freeze faster, improving ice cream stability. Faster freezing reduces the formation of large ice crystals, resulting in a smoother texture. Keep in mind, though, that too much salt can make the mixture too cold, risking overfreezing or uneven freezing. Properly balancing salt and ice guarantees your ice cream reaches the perfect consistency efficiently and maintains its quality throughout the process.
Salty Ice Accelerates Freezing
Salty ice and ice salt mixtures considerably speed up the freezing process for your homemade ice cream. When you add salt to ice, it creates salty ice, which lowers the temperature of the mixture below 32°F (0°C). This phenomenon, known as freezing acceleration, allows the ice cream mixture to chill faster. The salt disrupts the ice’s crystal structure, preventing it from melting immediately and maintaining a colder environment around your container. As a result, heat transfer from the ice cream mixture occurs more quickly, reducing the overall freezing time. Using salty ice is especially effective when you want to achieve a quick, smooth texture without a machine. Just remember, the salt’s role is to enhance cooling, making your DIY ice cream process faster and more efficient. Additionally, understanding how ice melting point is affected by salt can help optimize your freezing setup for even quicker results.
Optimal Salt-Ice Ratios
Achieving the right balance between salt and ice is key to maximizing freezing speed when making homemade ice cream. The ideal salt ratios depend on the amount of ice and the desired ice consistency. Typically, a mixture of about 3/4 cup of salt per 1 quart of crushed ice works well. Too much salt can lower the temperature excessively, causing the ice to melt faster and making it harder to freeze the mixture evenly. Too little salt slows down the process. The goal is to create a salty ice bath that’s cold enough to freeze the cream quickly while maintaining a slushy ice consistency. Adjust the salt ratios based on your ice volume and ambient conditions for the best results. Properly selecting the right flushing mechanism and ensuring a good seal can also help maintain optimal temperatures during the process.
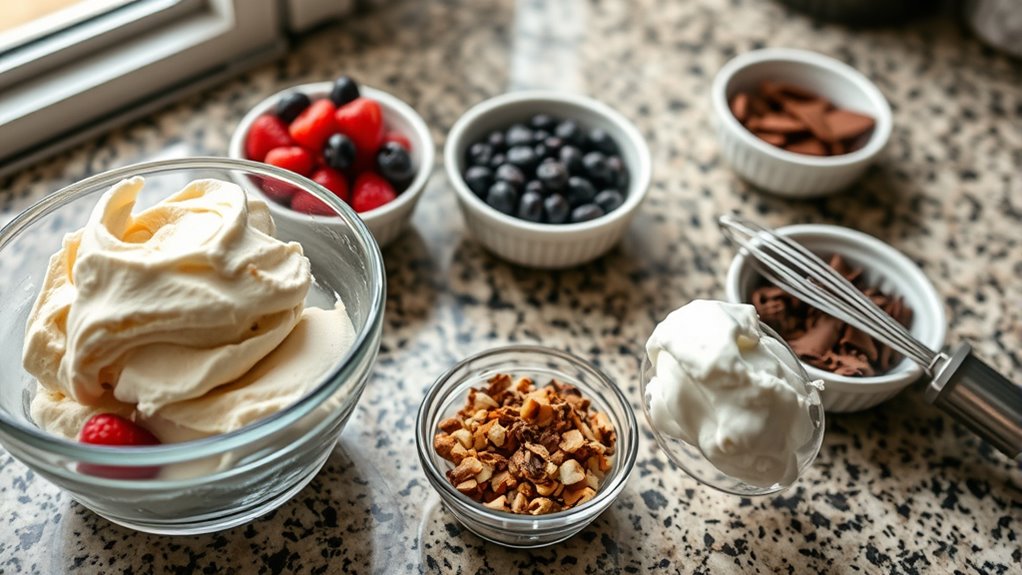
The Role of Ingredients: Cream, Sugar, and Flavorings
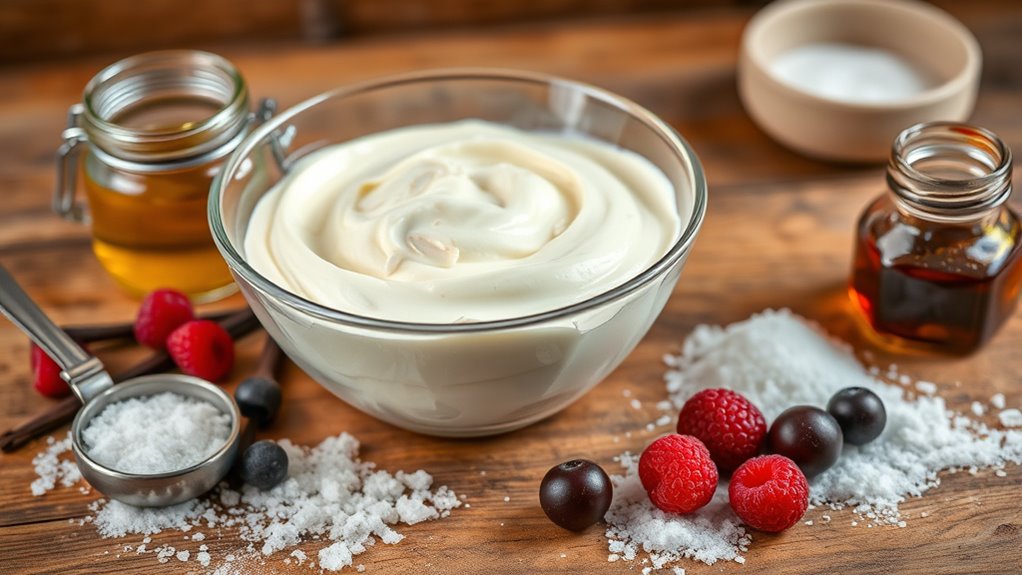
The quality and balance of ingredients are essential when making ice cream without a machine. Using high-quality ingredients ensures a richer, creamier texture and better flavor. Fresh cream provides the necessary fat for smoothness, while the right amount of sugar not only sweetens but also helps prevent ice crystals, improving texture. Sugar also allows for flavor customization—you can adjust sweetness or experiment with different types like honey or maple syrup. Flavorings such as vanilla, cocoa, or fruit purees enhance taste and make your ice cream unique. Be mindful of ingredient proportions; too much liquid can make your ice cream icy, while too little can affect creaminess. Prioritize quality and balance to achieve delicious, customizable ice cream even without a machine. Additionally, incorporating techniques like mindfulness practices during preparation can help you better gauge the consistency and texture for optimal results.
Tips for Achieving Creaminess and Texture Similar to Store-Bought Ice Cream
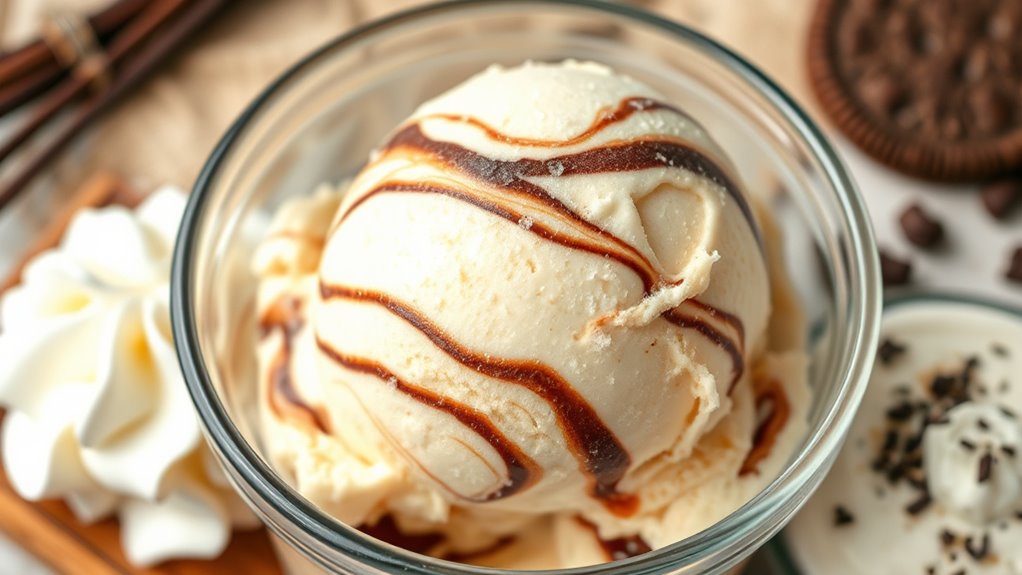
To get a creamy, smooth texture similar to store-bought ice cream, focus on incorporating techniques that improve mouthfeel and structure. You can enhance creaminess by using ingredients like heavy cream and egg yolks or adding stabilizers like gelatin or cornstarch. When handcrafting flavors, incorporate a splash of alcohol—such as liqueur—to prevent ice crystals. Proper storage techniques also matter; freeze your ice cream in an airtight container, and occasionally stir during the initial freezing to break up ice crystals. To further boost texture, consider adding a small amount of xanthan gum or lecithin. These tips help achieve a luscious, consistent texture, making your homemade ice cream feel just as indulgent as store-bought varieties.
Common Mistakes and How to Avoid Them

One common mistake when making homemade ice cream is neglecting proper mixing and stirring during freezing, which leads to large ice crystals and a gritty texture. Overmixing pitfalls can also ruin your batch by introducing air or breaking down the ice cream’s structure, resulting in a less creamy final product. To avoid these issues, stir the mixture regularly, especially during the first few hours, to prevent ice crystals from forming. Ingredient inconsistencies, such as unevenly blended dairy or sweeteners, can cause texture problems and flavor imbalance. Use precise measurements and blend ingredients thoroughly before freezing. Additionally, understanding the importance of texture control can help you fine-tune your process for better results. By staying attentive to mixing habits and ensuring ingredient accuracy, you’ll improve your chances of achieving smooth, creamy homemade ice cream without a machine.
Comparing Homemade Results to Commercial Ice Cream
When you compare homemade ice cream to its commercial counterparts, you’ll notice notable differences in texture, flavor, and consistency. Homemade versions often have a softer, creamier feel and may lack the uniformity found in store-bought options. You can experiment with flavor variations by adding mix-ins like fruit or chocolate, but achieving the same intensity can be tricky. Proper storage techniques are essential; homemade ice cream needs airtight containers to prevent freezer burn and maintain freshness. Commercial ice cream benefits from stabilizers and preservatives that extend shelf life, which homemade recipes typically lack. Keep in mind that homemade ice cream is more customizable, but may require more effort to match the smoothness and flavor consistency of commercial varieties. This comparison highlights the unique qualities of each and what you should expect from your homemade batches. Additionally, using efficient storage methods can help preserve the quality of your homemade ice cream for longer periods.
Frequently Asked Questions
Can I Make Dairy-Free or Vegan Ice Cream Without Specialized Equipment?
Yes, you can make dairy-free or vegan ice cream without specialized equipment. You just need dairy free alternatives like coconut milk or almond milk, and vegan ingredient swaps such as agave or maple syrup. Mix your ingredients, then freeze and stir every 30 minutes until it reaches your desired consistency. This simple process lets you enjoy creamy, homemade vegan ice cream without needing an ice cream maker.
How Long Does Homemade Ice Cream Typically Stay Fresh?
You can expect homemade ice cream to stay fresh for about 1 to 2 weeks if you use good ice cream preservatives and store it properly. Make sure to use airtight storage containers to prevent freezer burn and absorption of other odors. Keep the freezer at a consistent temperature, and avoid leaving it out for long periods. Proper preservation and storage are key to enjoying your homemade treat longer.
Are There Healthy or Low-Sugar Options for Homemade Ice Cream?
You can definitely make healthier, low-sugar ice cream at home. Use sugar substitutes like stevia or erythritol to cut down on sugar without sacrificing sweetness. Opt for fruit-based recipes, which naturally add flavor and sweetness while providing vitamins. By blending fresh or frozen fruit with a bit of milk or yogurt, you create a delicious, guilt-free treat that’s easy and nutritious, perfect for satisfying your sweet tooth responsibly.
How Do I Store and Serve Homemade Ice Cream for Best Results?
They say “a stitch in time saves nine,” and the same applies to storing your homemade ice cream. Use an airtight container for proper storage, pressing a piece of parchment paper on top to prevent ice crystals. When serving, let it sit at room temperature for a few minutes to soften slightly. For best results, scoop with a warmed spoon and consider serving with fresh fruit or toppings for added flavor.
Is It Possible to Make Other Frozen Desserts Using These Techniques?
Absolutely, you can make other frozen desserts with these techniques. Try fruit sorbets by blending fresh fruit and freezing, or create creamy frozen yogurt with yogurt and sweeteners. Just like with homemade ice cream, stirring during freezing helps achieve smooth textures. These methods give you versatile options for delicious frozen treats without a machine, so experiment with flavors and enjoy personalized desserts anytime.
Conclusion
With patience and a bit of elbow grease, your homemade ice cream can mirror the velvety richness of store-bought treats, transforming simple ingredients into a symphony of flavor. Think of it as sculpting frozen dreams—each stir and freeze adding layers of texture and personality. So, embrace the process, and soon you’ll savor a scoop that’s truly yours, a cool masterpiece crafted by your own hands, turning everyday moments into sweet, memorable celebrations.