
If you haven’t cleaned your ice cream maker recently, it’s probably filthy with bacteria, mold, and residues that can affect its performance and your health. You should disassemble it carefully, wash all removable parts thoroughly with warm water and mild detergent, and wipe down non-removable components with a damp cloth. Don’t forget to sanitize and dry everything completely before reassembling. Keep it well-maintained to enjoy fresh, safe treats—more helpful tips are coming your way.
Key Takeaways
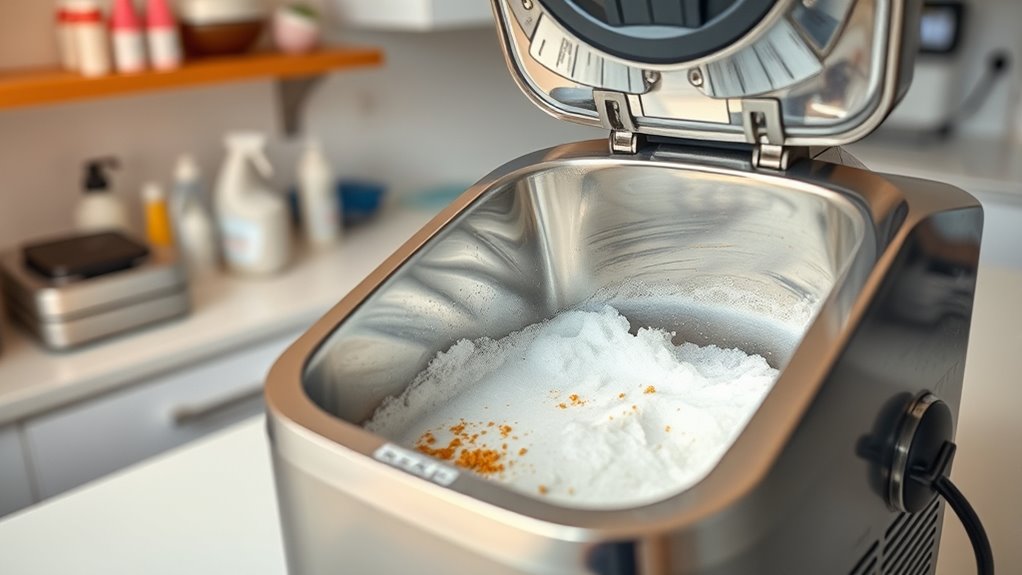
- Check for visible residue, mold, or sticky buildup inside and outside your ice cream maker.
- Disassemble and thoroughly clean removable parts with warm water and mild detergent.
- Wipe down non-removable components and freezer bowl to remove ice and dust.
- Sanitize all parts with food-safe disinfectant and ensure complete drying before reassembling.
- Inspect for damage or residue, and perform regular cleaning to prevent mold and maintain optimal performance.
Gather Your Cleaning Supplies and Prepare Your Workspace
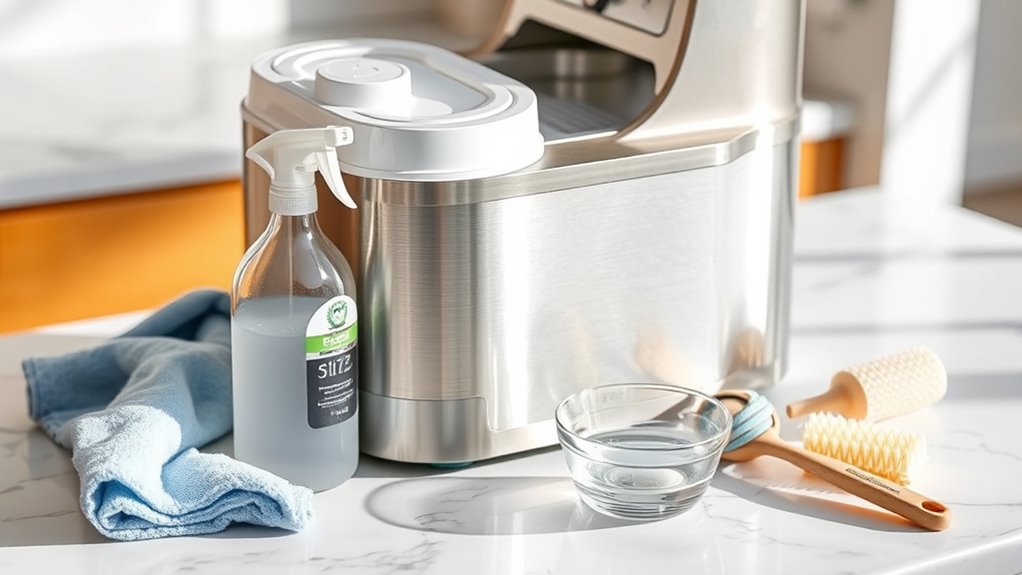
Before you begin cleaning your ice cream maker, it’s important to gather all the necessary supplies and set up a clean, organized workspace. Start by collecting cleaning techniques such as mild dish soap, warm water, and a soft brush or sponge. Make sure you have microfiber cloths for drying and any brushes needed for hard-to-reach areas. Organize your supplies so you can work efficiently. Also, consider storage tips to keep your parts in good condition—store removable parts in a dry, dust-free area to prevent mold or odors. Clear the workspace to avoid cross-contamination. Proper preparation guarantees you can clean thoroughly and maintain your ice cream maker’s performance, extending its lifespan and ensuring every batch is fresh and safe to enjoy. Additionally, understanding the importance of proper maintenance can help ensure your appliance continues to operate efficiently over time.
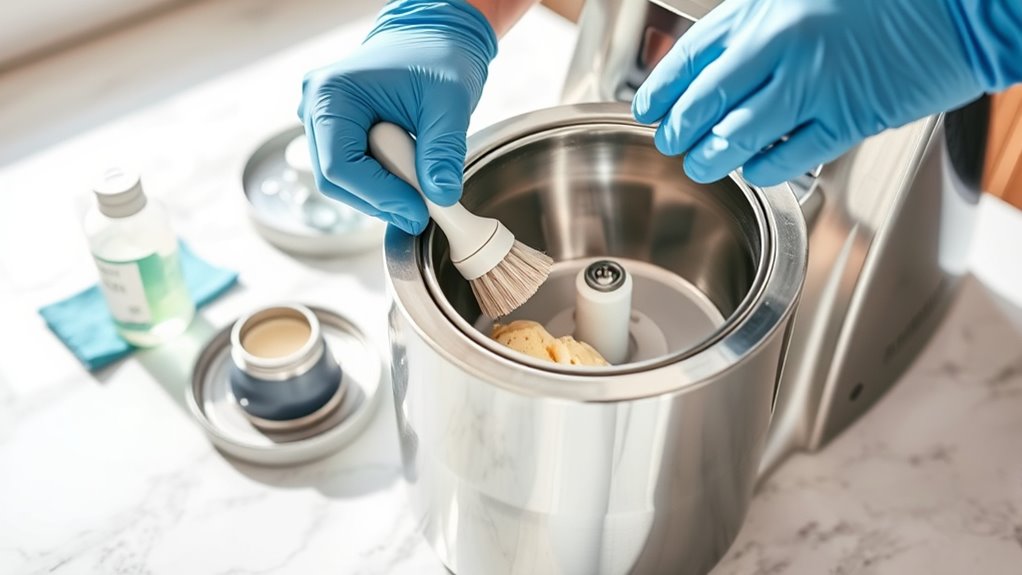
Disassemble the Ice Cream Maker Carefully
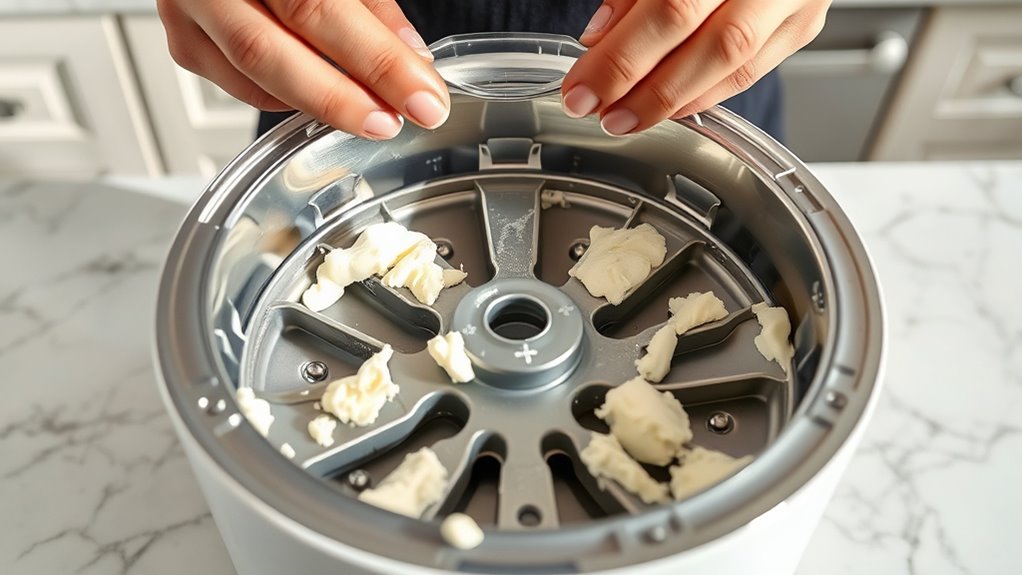
To properly clean your ice cream maker, you need to disassemble it carefully to avoid damaging any parts. Start by following safety precautions—unplug the machine and handle components gently. Use the appropriate disassembly tools to prevent scratches or breakage. Keep these tips in mind:
- Identify and remove removable parts with care to avoid forcing or bending them.
- Consult your user manual for specific disassembly instructions tailored to your model.
- Keep track of small parts and screws to ensure easy reassembly later.
- Remember that proper disassembly ensures the longevity of your appliance and maintains optimal hygiene.
Taking your time and using the right tools will help protect your ice cream maker. Remember, rushing or using improper tools can lead to damage, so proceed slowly and methodically for the best results.
Remove and Clean the Removable Parts Thoroughly
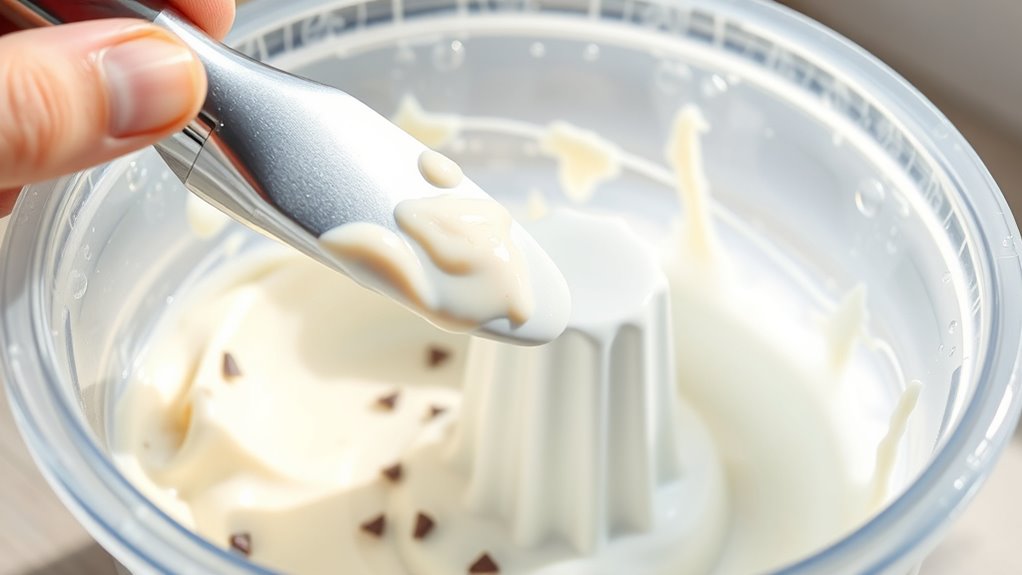
Once you’ve disassembled the ice cream maker, you should remove all removable parts for cleaning. These parts include the paddle, lid, and any containers or dispensers. Use warm water and a mild detergent to wash each component, applying cleaning techniques that guarantee thorough removal of residue and buildup. Use a soft brush or sponge to scrub surfaces gently, paying attention to crevices and corners where mold or old ice cream can hide. Rinse everything well to eliminate soap residues. Dry each part completely with a clean towel or air dry to prevent mold growth. Properly cleaning your removable parts not only keeps your ice cream maker hygienic but also prolongs its lifespan and ensures delicious, contamination-free ice cream every time. Regular inspection and proper maintenance of these parts help maintain optimal performance.
Clean the Freezer Bowl and Other Non-Removable Components
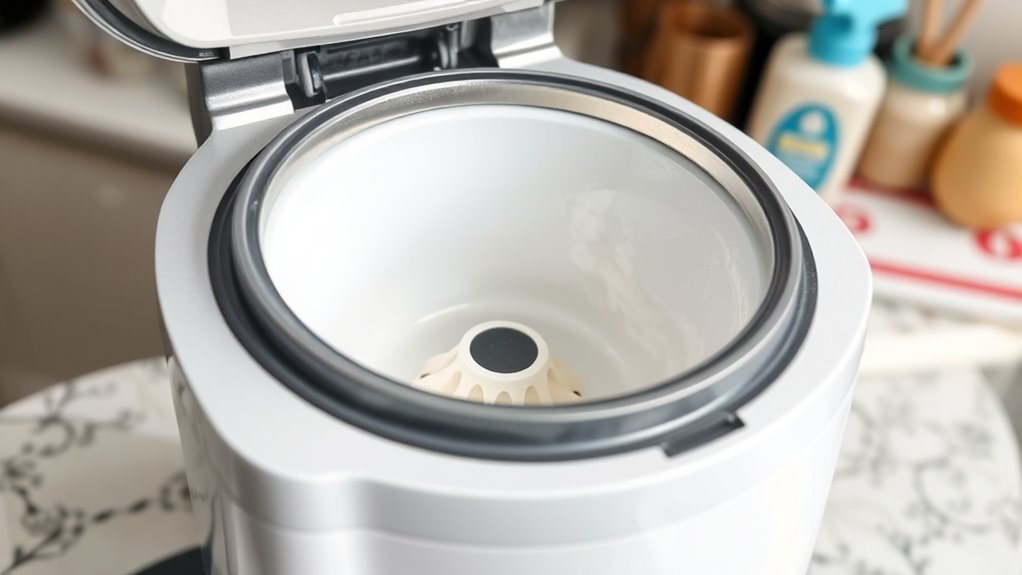
After thoroughly cleaning the removable parts, it’s time to focus on the freezer bowl and other non-removable components. These parts are vital for maintaining ice cream safety and excellent texture. Regular cleaning prevents bacteria buildup and guarantees your ice cream stays fresh. Remember, the freezer temperature affects how well the bowl stays cold, so keep it consistently frozen. To keep everything in top shape:
- Wipe down the freezer bowl with a damp cloth, avoiding soap that could affect ice cream safety.
- Check for any residue or ice build-up around non-removable components.
- Use a soft brush or cloth to clean vents and other hard-to-reach areas, ensuring proper airflow and cooling.
- Maintaining the cleanliness of food-safe surfaces is essential to prevent cross-contamination and ensure your ice cream remains delicious and safe to eat.
Keeping these parts clean helps your machine perform better and produces delicious, safe ice cream every time.
Sanitize the Machine’s Exterior and Non-Washable Parts
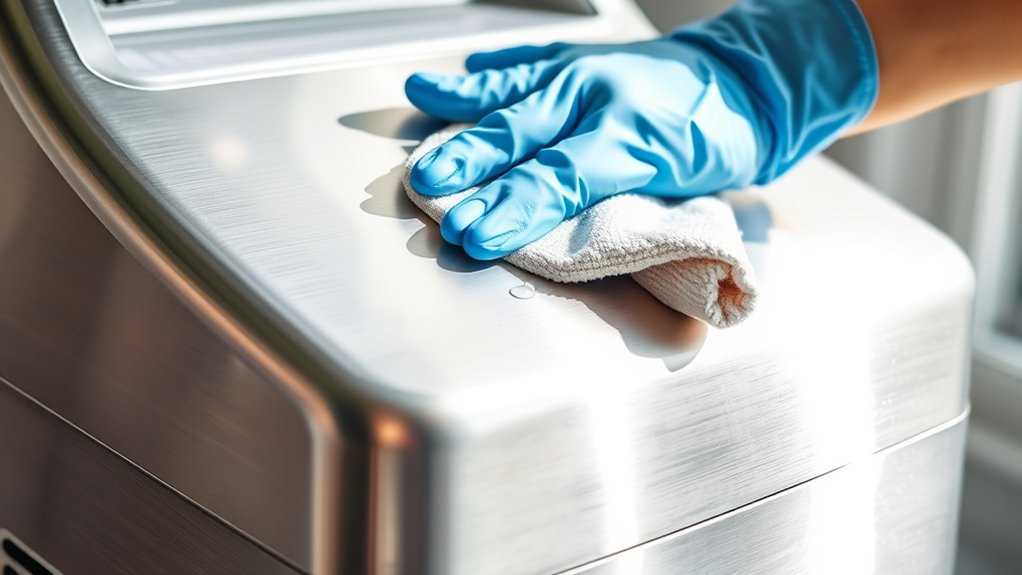
To keep your ice cream maker safe and clean, you should wipe down the exterior and non-washable parts regularly. Use a soft cloth with a gentle disinfectant to remove any residue and germs. Avoid harsh chemicals that could damage the machine’s surface or leave harmful residues. Regular maintenance, including filter replacement, ensures the appliance remains in optimal condition and free of contaminants.
Wipe With Disinfectant
Before you finish cleaning your ice cream maker, it’s important to disinfect the exterior and non-washable parts to prevent bacteria buildup. Using a proper disinfectant emphasizes the importance of thorough cleaning and maintaining hygiene. Regular disinfectant application helps reduce germs that can cause spoilage or illness.
- Choose a food-safe disinfectant and follow the manufacturer’s instructions.
- Wipe down all exterior surfaces and non-washable parts with a clean cloth.
- Establish a cleaning frequency that aligns with how often you use your machine to keep it safe and sanitary.
Disinfectant importance cannot be overstated, especially for parts that can’t be rinsed easily. Consistent wiping with disinfectant ensures your ice cream maker stays clean and safe for every batch.
Use Soft Cloths
Using soft cloths is essential for safely sanitizing your ice cream maker’s exterior and non-washable parts. These gentle cleaning tools prevent scratches and damage while effectively removing dirt, dust, and residue. Dampen the cloth with a mild cleaning solution or water, then wipe down all surfaces carefully. Focus on areas like control panels, vents, and other parts that can’t be submerged or washed directly. Soft cloths help you achieve a thorough clean without harsh abrasion, ensuring your machine stays in top condition. Remember, gentle cleaning is key to preserving the integrity of delicate components and maintaining hygiene. Regular use of soft cloths makes sanitizing routines easier and more effective, keeping your ice cream maker safe and ready for delicious treats. Effective cleaning techniques also play a vital role in extending the lifespan of your appliance.
Avoid Harsh Chemicals
Avoid harsh chemicals when sanitizing your ice cream maker’s exterior and non-washable parts, as they can damage surfaces and compromise the machine’s integrity. Instead, opt for natural cleaning and eco-friendly methods to keep your equipment safe and spotless. Using vinegar, baking soda, or lemon juice effectively disinfects without harmful residues. These natural solutions break down grime and bacteria while being gentle on your machine. Incorporating figurative language techniques can also make cleaning instructions more engaging and memorable for readers. Consider these eco-friendly cleaning tips: – Wipe surfaces with a mixture of vinegar and water – Use baking soda paste for stubborn spots – Apply lemon juice for a fresh, natural disinfectant
Dry All Components Completely Before Reassembling
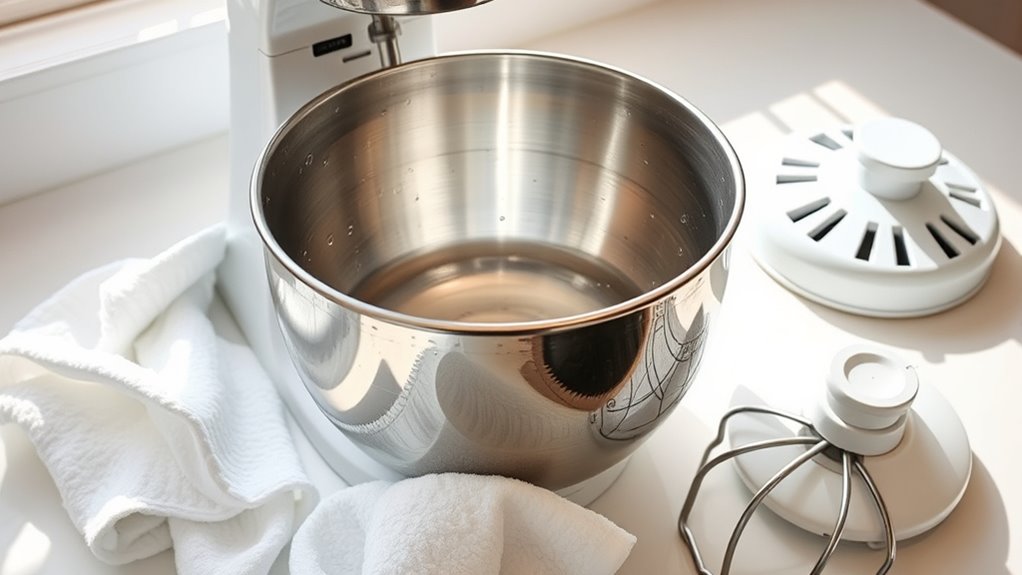
Ensuring all components are completely dry prevents moisture from lingering inside your ice cream maker, which could lead to mold or unpleasant odors. After washing, use a clean towel to thoroughly dry each part, paying attention to crevices and seals. This step is vital for proper storage tips, as storing damp components can cause bacterial growth. When troubleshooting techniques, drying thoroughly helps prevent leftover moisture from causing operational issues or damage during reassembly. Take your time to air dry parts or use a soft cloth to speed up the process. Avoid rushing, as residual dampness can compromise the cleanliness of your machine and affect future batches. Proper maintenance, such as tuning your equipment, can also extend the lifespan of your ice cream maker. By drying all components completely before reassembling, you ensure your ice cream maker stays hygienic and functions smoothly for every use.
Perform a Maintenance Check and Reassemble the Maker
Before reassembling your ice cream maker, you should carefully inspect all components for any damage or leftover residue. Make sure each part fits correctly and is clean to prevent issues during operation. Once you’re confident everything is in good shape, reassemble the maker following the proper order. Incorporating self-reflection into your maintenance routine can help ensure all aspects of the appliance are thoroughly checked.
Inspect All Components
To effectively inspect all components of your ice cream maker, start by carefully examining each part for signs of wear, damage, or residue. Use an inspection checklist to guarantee nothing gets overlooked. Review the component overview to identify areas prone to buildup or deterioration. Focus on key parts like the mixing blade, motor, and seals. Regularly updating your maintenance practices can extend the lifespan of your equipment and ensure optimal performance. Check for cracks, corrosion, or hardened residue on all removable parts. Ensure the electrical contacts and power cord are intact and clean. Look for any signs of mold, sticky buildup, or leftover ice cream residue.
Pay close attention to these details to prevent mechanical issues. Doing this thorough component overview guarantees your machine is clean, safe, and ready for the next use.
Reassemble Properly
After completing the maintenance check, carefully reassemble your ice cream maker by following the manufacturer’s instructions. Proper reassembly is essential to ensure the machine functions correctly and safely. Start by aligning all parts precisely, making sure they fit snugly into their designated spots. Pay close attention to securing parts firmly, especially the blade and lid, so they won’t come loose during operation. Double-check seals and gaskets, ensuring they’re properly positioned to prevent leaks. Avoid forcing any components, as this can cause damage. Once everything is properly aligned and secured, give the machine a gentle shake or test to confirm all parts are firmly in place. Incorporating automation’s role in business intelligence can help streamline the reassembly process and reduce errors. Proper reassembly guarantees your ice cream maker operates smoothly and stays clean for your next batch.
Establish a Regular Cleaning Schedule to Keep It Fresh
Creating a regular cleaning schedule for your ice cream maker is essential to guarantee it stays fresh and functions properly. Consistent cleaning maintains ideal ice cream hygiene and prevents bacteria buildup. Determine a cleaning frequency based on usage; if you make ice cream weekly, clean after each batch. This habit ensures your machine stays in top shape and your ice cream tastes great. To stay on track, consider these tips:
Establish a regular cleaning routine to keep your ice cream maker fresh and functioning optimally.
- Set reminders to clean immediately after use
- Use proper cleaning agents to prevent residue buildup
- Deep clean at least once a month, even if not used often
- Incorporate regular maintenance into your routine to ensure optimal performance and longevity.
Sticking to a routine not only keeps your ice cream maker spotless but also extends its lifespan. Remember, regular cleaning is key to enjoying fresh, delicious ice cream every time.
Frequently Asked Questions
How Often Should I Deep Clean My Ice Cream Maker?
You should deep clean your ice cream maker at least once a season, following your maintenance schedule. Regular cleaning frequency helps prevent residue buildup and guarantees peak performance. After each use, wash parts thoroughly, but a deep clean removes hidden grime and bacteria. If you notice any odors or mold, clean it immediately. Staying consistent with cleaning maintains your machine’s longevity and guarantees delicious, fresh ice cream every time.
Can I Use Dishwasher Detergent to Clean the Parts?
You might wonder if dishwasher detergent is safe for cleaning your ice cream maker parts. While it’s tempting, dishwasher safety isn’t assured with all detergents, especially for parts that contact food. Instead, consider detergent alternatives like mild dish soap and warm water, which clean effectively without risking residue or damage. Always check your manufacturer’s cleaning recommendations to ensure you use safe, appropriate cleaning methods for your machine.
What Should I Do if Mold Appears Inside the Machine?
If mold appears inside your ice cream maker, you need to act quickly. Perform mold removal by thoroughly scrubbing all affected parts with a mixture of safe cleaning agents like vinegar or baking soda. Make sure you rinse everything thoroughly to remove residue, then let it air dry completely. Regularly clean and maintain your machine to prevent future mold growth, keeping it safe and hygienic for your delicious treats.
Are There Specific Cleaning Products Recommended for Ice Cream Makers?
Ever wondered what cleaning products are best for your ice cream maker? You should opt for cleaning vinegar, which effectively removes residue and odors, or food-safe sanitizers to guarantee safety. Are harsh chemicals necessary? Not at all. Using these gentle, food-grade options keeps your machine clean without risking contamination. Regularly sanitizing with these products maintains hygiene, extends your appliance’s life, and guarantees delicious, safe treats every time.
How Can I Prevent Ice Buildup During Cleaning?
To prevent ice buildup during cleaning, you should focus on proper ice buildup prevention and cleaning techniques. Make sure to thoroughly dry all parts after washing and avoid leaving moisture inside the machine. Use a soft cloth or paper towels to wipe down surfaces and keep the ice cream maker in a cool, dry place. Regular maintenance helps prevent moisture accumulation, reducing ice buildup and ensuring your machine stays in top shape.
Conclusion
Now that you know how to clean your ice cream maker correctly, keep it pristine and pest-free. Regular rinses and routine repairs prevent pesky buildup and preserve perfect ice cream. Don’t delay—diligently disinfect and dry each part to dodge dirt and damage. By building a beautiful, barrier-free machine, you’ll enjoy consistently creamy creations. Stay savvy, sanitize swiftly, and savor sweet, spotless treats anytime you crave cold, creamy comfort!