
Stop making these ice cream mistakes by storing it in airtight containers at or below 0°F to prevent freezer burn and flavor loss. Always chill your mixture thoroughly before churning, and use high-quality, fresh ingredients for the best flavor and texture. Avoid skipping proper sealing and consistent freezer temperatures, as these cause ice crystals and grainy texture. Keep learning how to master each step, and your homemade ice cream will turn out creamy and delicious every time.
Key Takeaways
- Store ice cream in airtight containers at or below 0°F to prevent freezer burn and flavor loss.
- Ensure mixture is thoroughly chilled for at least 4 hours before churning to achieve a smooth texture.
- Use high-quality, fresh ingredients and avoid artificial stabilizers for better flavor and consistency.
- Maintain consistent freezer temperatures and avoid temperature fluctuations to prevent ice crystal formation.
- Follow proper mixing techniques, gradually increasing speed to create a creamy, smooth ice cream.
Using the Wrong Storage Techniques
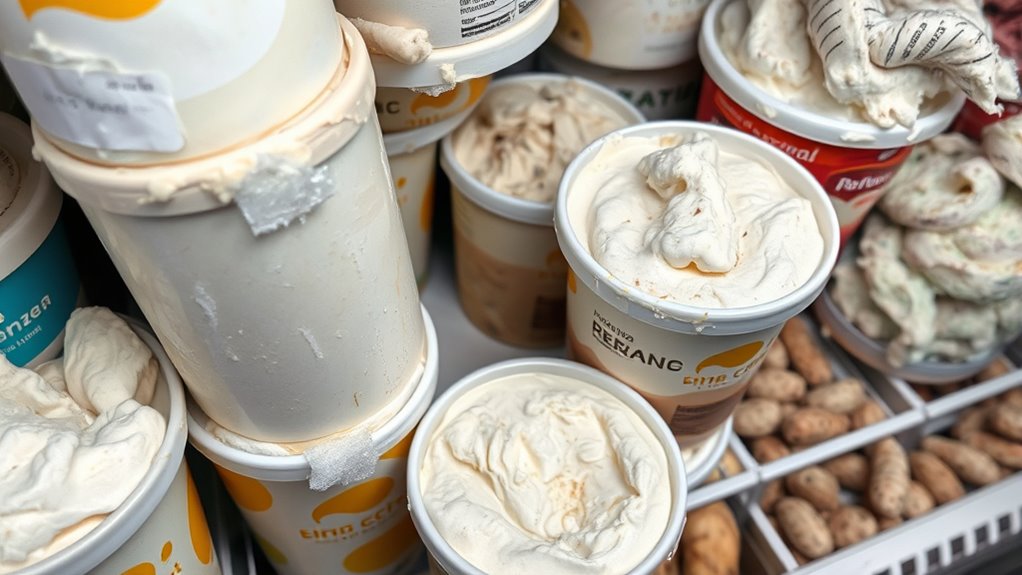
Storing ice cream improperly can cause it to develop ice crystals and lose its creamy texture. To prevent this, always use airtight containers that seal in freshness and minimize exposure to air. When ice cream is left uncovered or stored in poorly sealed containers, it’s more prone to freezer burn and texture changes. Temperature control is also essential; keep your freezer consistently cold, ideally at or below 0°F (-18°C), to maintain quality. Avoid fluctuations that cause melting and refreezing, which create ice crystals. Proper storage not only preserves flavor but also ensures your ice cream stays smooth and scoopable. Additionally, understanding freezer temperature and maintaining it consistently can significantly extend the shelf life and quality of your ice cream. By paying attention to airtight containers and maintaining steady temperature control, you’ll enjoy perfect, creamy ice cream every time.
Skipping the Proper Chilling and Mixing Steps

Skipping the proper chilling and mixing steps can ruin your ice cream’s texture and flavor. If you don’t chill your mixture long enough, it won’t freeze evenly, leading to a grainy or icy texture. Aim for a chilling duration of at least 4 hours or overnight, ensuring the mixture is thoroughly cold before churning. When mixing, use the correct mixing speed—start slow to combine ingredients smoothly, then increase speed gradually to incorporate air and create a creamy consistency. Rushing this process or skipping chilling altogether results in poorly textured ice cream that’s hard to scoop and lacks flavor development. Taking the time to chill properly and mixing at the right speed makes all the difference in achieving that smooth, luscious finish you want.
Choosing the Incorrect Ingredients

Choosing the right ingredients is essential for making delicious ice cream, because using the wrong ones can compromise both texture and flavor. Ingredient substitutions might seem harmless, but they can throw off your recipe’s balance. For example, swapping heavy cream for milk reduces creaminess, while using low-quality flavorings can result in dull taste. To guarantee proper flavor balancing, select fresh, high-quality ingredients that complement each other. Avoid using artificial stabilizers or overly processed additives, as they can affect texture and taste. Instead, focus on natural ingredients like real vanilla bean or fresh fruit. By paying close attention to your ingredient choices, you’ll create a richer, more satisfying ice cream that truly hits the mark.
Frequently Asked Questions
How Long Can Homemade Ice Cream Be Stored Without Spoiling?
Homemade ice cream typically stays good for about 2 to 4 weeks in your freezer. To prevent spoilage, make certain it’s stored in an airtight container and kept at a consistent freezing temperature. Proper storage duration helps you enjoy your treat without risking spoilage. Keep in mind that after this period, ice crystals or freezer burn may develop, affecting texture and flavor, so it’s best to consume it sooner rather than later.
Can I Use Non-Dairy Milk for a Cream-Based Ice Cream?
You can definitely use non-dairy milk for a cream-based ice cream. Plant-based alternatives like coconut milk, cashew milk, or almond milk work well as dairy-free options, giving your ice cream a creamy texture. Just keep in mind that some plant-based milks may alter the flavor or consistency, so choose one that complements your recipe. Experimenting with different dairy-free options can help you find the perfect base for your homemade ice cream.
What Is the Best Way to Prevent Ice Crystals From Forming?
Ice crystal prevention can feel like battling a giant snowstorm, but with the right freezing techniques, you’ve got this! To prevent ice crystals, regularly stir your ice cream during freezing to keep it smooth. Use airtight containers to minimize moisture, and add alcohol or sugar for extra softness. These freezing techniques guarantee your treat stays creamy and scoopable, turning your ice cream into a silky delight instead of a frosty nightmare.
How Do I Achieve a Smooth, Scoopable Texture?
To achieve a smooth, scoopable texture, focus on proper churning techniques and ingredient ratios. Use consistent churning to prevent large ice crystals, which keeps the ice cream creamy. Make sure your ingredient ratios are balanced—too much cream or sugar can affect texture. Also, consider adding stabilizers like cornstarch or gelatin, which enhance smoothness. With careful attention, you’ll get irresistibly creamy, scoopable ice cream every time.
Are There Healthier Ingredient Substitutions for Traditional Ice Cream?
Think of your ice cream as a garden needing healthier blooms. You can swap traditional ingredients with dairy alternatives like almond or coconut milk, which keep it creamy without the dairy. Use natural sweeteners such as honey or maple syrup instead of refined sugar, adding flavor while reducing processed ingredients. These substitutions create a delicious, guilt-free treat that’s better for your health and still satisfies your sweet tooth.
Conclusion
By avoiding these common ice cream mistakes, you’ll be the master of creamy perfection. Remember, even in the age of the Internet and smartphones, traditional methods still reign supreme—so don’t skip those chilling and mixing steps. Keep your ingredients pure and your storage spot cool, and your ice cream will turn out just right. So, don’t be a digital da Vinci—trust the process and enjoy your homemade frozen masterpiece!