
Making DIY baby food is easy and rewarding! Start with simple purees using fresh fruits and vegetables like avocado, sweet potato, or banana. Just blend the ingredients with water, breast milk, or formula for a smooth texture. Freeze portions in ice cube trays for convenience, and always introduce new foods one at a time to monitor reactions. Don’t worry, there’s so much more to learn about food storage and creative combinations that will delight your baby!
Key Takeaways
- Start with simple Stage 1 purees like avocado, sweet potato, or banana, blended with water, breast milk, or formula for smooth textures.
- Batch cook by preparing larger quantities, freezing in ice cube trays, and storing portions in airtight containers for easy access.
- Use fresh, seasonal produce for enhanced flavor and nutrition, opting for organic ingredients to avoid additives and preservatives.
- Gradually introduce new foods one at a time, waiting three days before adding another to monitor for allergic reactions.
- Keep a food diary to track baby’s preferences, reactions, and any changes in feeding habits or bowel movements.
Understanding When to Introduce Solid Foods

Introducing solid foods to your baby can be an exciting milestone, but timing is essential. The American Academy of Pediatrics suggests starting around 4 to 6 months old, depending on your baby’s developmental signs.
Introducing solid foods is a thrilling milestone; timing is crucial, ideally between 4 to 6 months based on your baby’s cues.
Look for cues like sitting upright, showing interest in food, and losing the tongue-thrust reflex. Starting baby feeding too early can lead to allergies and digestive issues, while waiting too long may result in inadequate iron intake. In some states, like Georgia, parents must consider the timing of introducing solid foods alongside other important milestones such as child custody arrangements. Additionally, understanding the financial implications of caregiving can help parents allocate resources effectively during this crucial developmental phase.
As your baby gets older, it’s vital to introduce iron-rich foods, especially around six months, since exclusive breastfeeding mightn’t cover their iron needs. Many cultures emphasize the importance of early iron-rich foods like egg yolk or liver during weaning, ensuring your little one gets the nutrition they need. Additionally, understanding state tax implications of IRA withdrawals can help parents plan for future expenses related to their child’s upbringing.
Essential Supplies for Making Baby Food
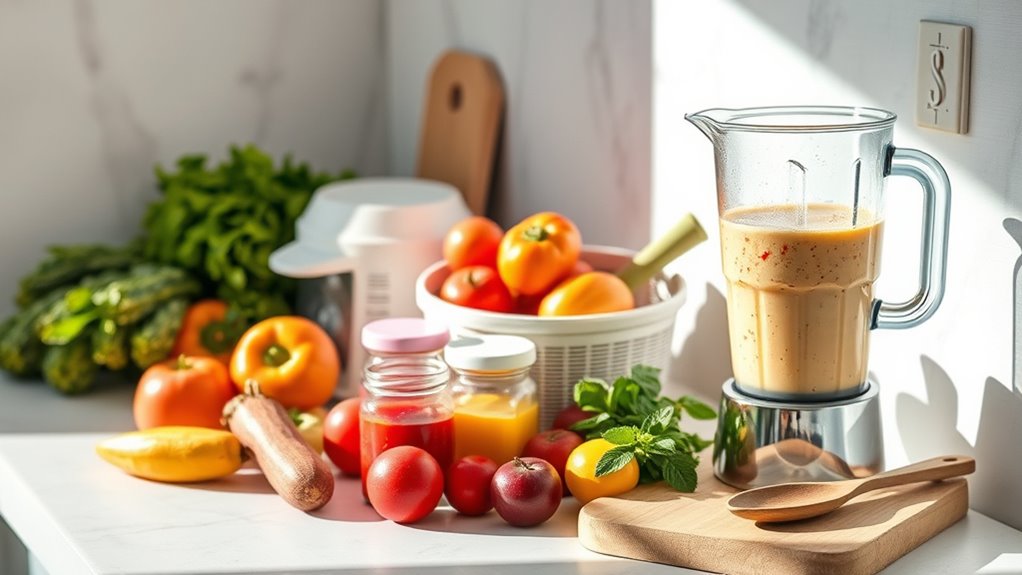
Creating your own baby food can be simple and rewarding with the right supplies. To get started, you’ll need a high-quality blender or food processor for smooth purees. A cutting board and knife are essential for chopping fresh ingredients, while measuring cups guarantee accurate portions. Ice cube trays are perfect for freezing purees in convenient sizes, and airtight storage containers keep your baby food fresh in the fridge or freezer. Additionally, you might consider incorporating nutritious ingredients like fruits and vegetables to enhance the flavor and health benefits of your homemade baby food. Including a variety of whole foods can also provide essential nutrients for your baby’s growth. Freshly squeezed juices, for example, can add natural sweetness to your recipes.
Here’s a handy list of essential supplies:
| Item | Purpose |
|---|---|
| High-quality blender | Pureeing ingredients |
| Food processor | Chopping and blending |
| Ice cube trays | Freezing portion-sized purees |
| Airtight storage containers | Storing food safely |
| Measuring cups | Guaranteeing accurate ingredient quantities |
With these tools, you’re ready to create delicious baby food!
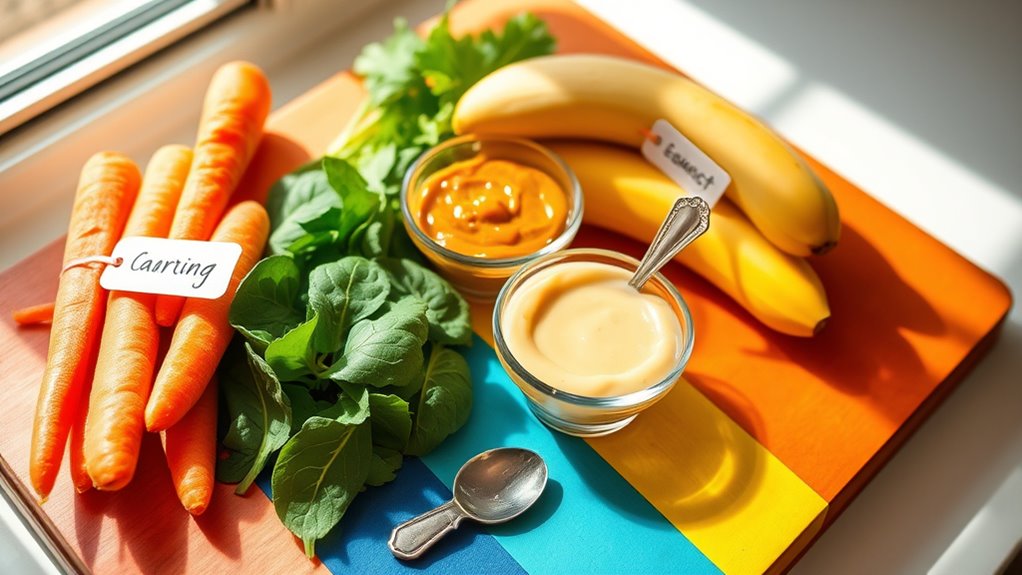
Key Ingredients for Homemade Baby Food
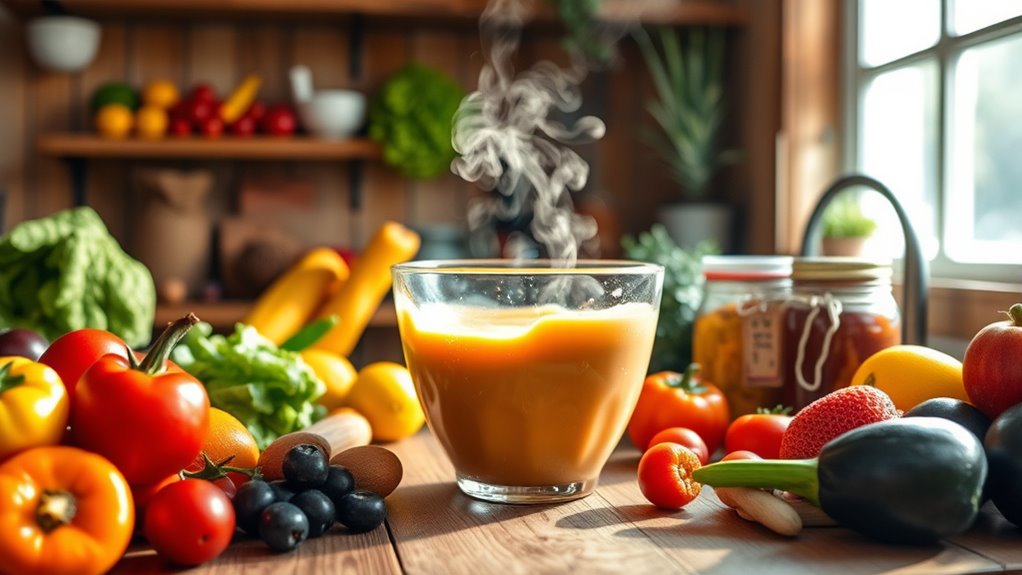
When it comes to making homemade baby food, choosing the right ingredients is essential for your baby’s health and development. Focus on fresh fruits and vegetables, like sweet potatoes and avocados, which can easily be transformed into delicious homemade baby food purees. Additionally, consistent daily routines can help establish a feeding schedule that promotes healthy eating habits. Incorporating chia seeds into your baby’s diet can provide additional nutrients, as they are rich in protein and omega-3 fatty acids. Incorporating iron-rich foods, such as chicken, beef, or legumes, after six months is vital for growth. Don’t forget to use seasonal produce; it enhances flavor and nutrition, making meals more appealing. Opt for organic ingredients to avoid additives and preservatives, ensuring your homemade baby food is safe and wholesome. You can creatively combine ingredients too, like mixing pureed beans with sweet potatoes or adding fruit purees to oatmeal for varied flavors and textures. Additionally, including high water content foods like cucumbers or celery can help keep your baby hydrated.
Simple Recipes for Beginners
Making your own baby food can be a fun and rewarding experience, especially as you start exploring simple recipes.
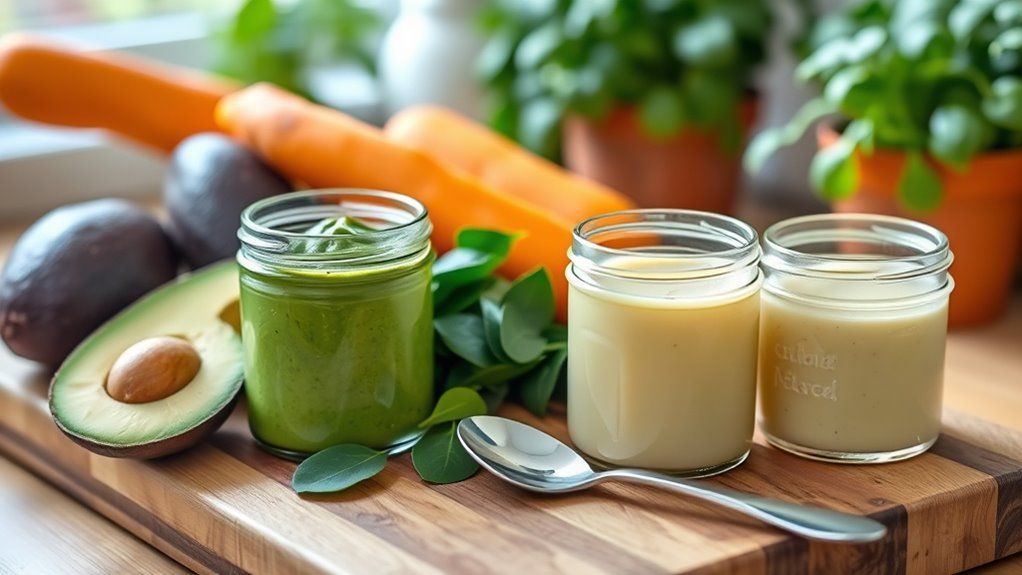
Begin with Stage 1 purees like avocado, sweet potato, or banana. These are easy to prepare and low in allergens, perfect for your baby’s first foods. Blend fresh ingredients with water, breast milk, or formula to achieve a smooth texture.
Batch cooking saves time—prepare several purees at once and freeze them in ice cube trays for easy portions.
Always monitor your baby’s reactions to new foods and adjust the texture gradually as they adapt to solids. Incorporating simple syrup can help balance flavors if you choose to mix in fruits that are naturally tart.
With these simple recipes, you’ll be well on your way to providing nutritious homemade baby food that supports your baby’s growth.
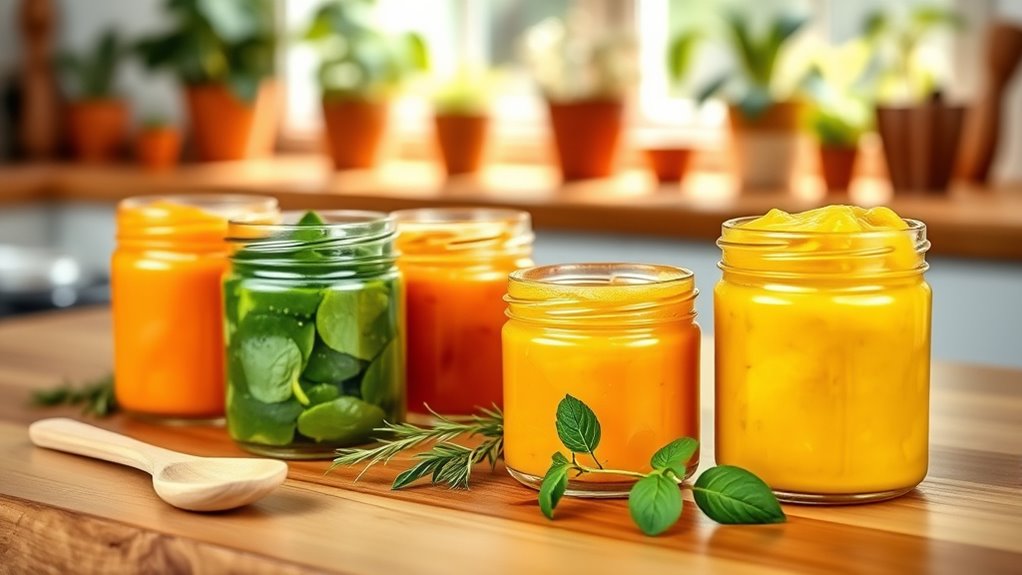
Creative Combinations for Flavorful Purees
Exploring creative combinations for flavorful purees not only keeps mealtime interesting for your baby but also introduces them to a variety of tastes and textures.
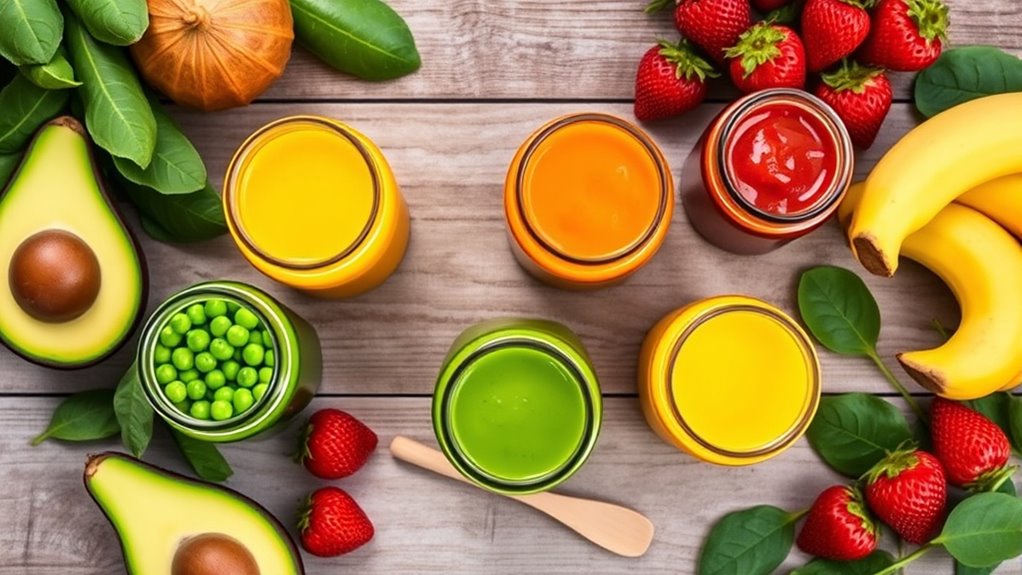
You can make a creamy, nutrient-rich puree by blending avocado and banana, offering healthy fats and natural sweetness. For a protein-packed option, mix cooked sweet potatoes with chickpeas—perfect for those growing months.
Try blending steamed carrots with apples to create a naturally sweet puree that’s colorful and delightful. To add a touch of refreshment, combine cooked peas with mint for a unique flavor.
Blend steamed carrots with apples for a vibrant, sweet puree, or refresh your baby’s palate with cooked peas and mint.
Finally, consider combining quinoa with pureed vegetables like spinach or zucchini for a wholesome, iron-rich meal. These homemade baby food recipes are sure to inspire fun food ideas for your little one!
Storing and Freezing Baby Food
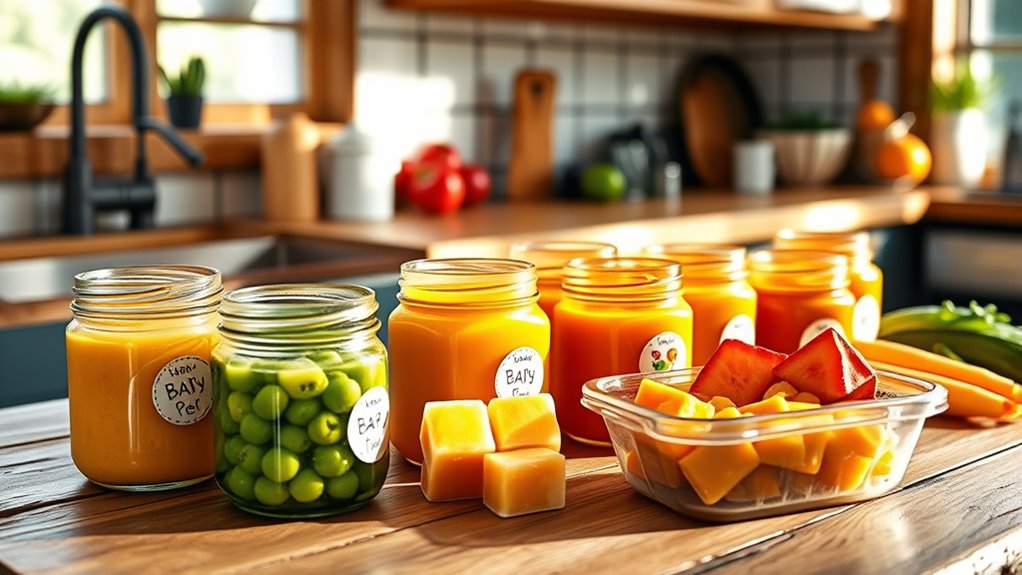
After whipping up those delicious purees, it’s important to know how to store and freeze baby food properly to keep it fresh and safe for your little one.
You can store homemade baby food in small, airtight containers in the refrigerator for up to 3-5 days. For longer storage, freeze baby food in ice cube trays, then transfer the frozen cubes to labeled freezer storage bags, where they can last 4-6 months.
Always label containers with the preparation date to track freshness. When thawing frozen baby food, do it in the refrigerator overnight to maintain quality and avoid refreezing.
After thawing, check the consistency and thin with breast milk, formula, or water to achieve the desired texture for your baby.
Tips for Successful Baby Food Preparation
When preparing baby food, starting with fresh, wholesome ingredients is essential for ensuring your little one gets the best nutrition.
Here are some tips for successful baby food preparation:
- Aim for a variety of flavors to encourage your baby to try new foods.
- Use a blender or food processor to create smooth purees; thin with breast milk, formula, or water as needed.
- Batch cooking saves time; prepare multiple servings and store them in labeled containers.
- Freeze purees in ice cube trays, transferring them to labeled freezer-safe bags for up to six months.
Monitoring Your Baby’s Reactions to New Foods
When introducing new foods to your baby, keep a close eye out for any signs of allergic reactions, like rashes or digestive issues.
It’s important to track their feeding preferences too, as this can help you understand what they enjoy and what doesn’t sit well.
Watch for Allergic Reactions
As you introduce new foods to your baby, it’s important to keep a close eye on any signs of allergic reactions. Monitoring your baby for symptoms can help you catch any issues early.
Here are some common signs to watch for:
- Rashes or hives
- Swelling around the face or lips
- Vomiting or diarrhea
- Difficulty breathing
Try to introduce one new food at a time and wait at least three days before adding another. This way, you can track reactions effectively.
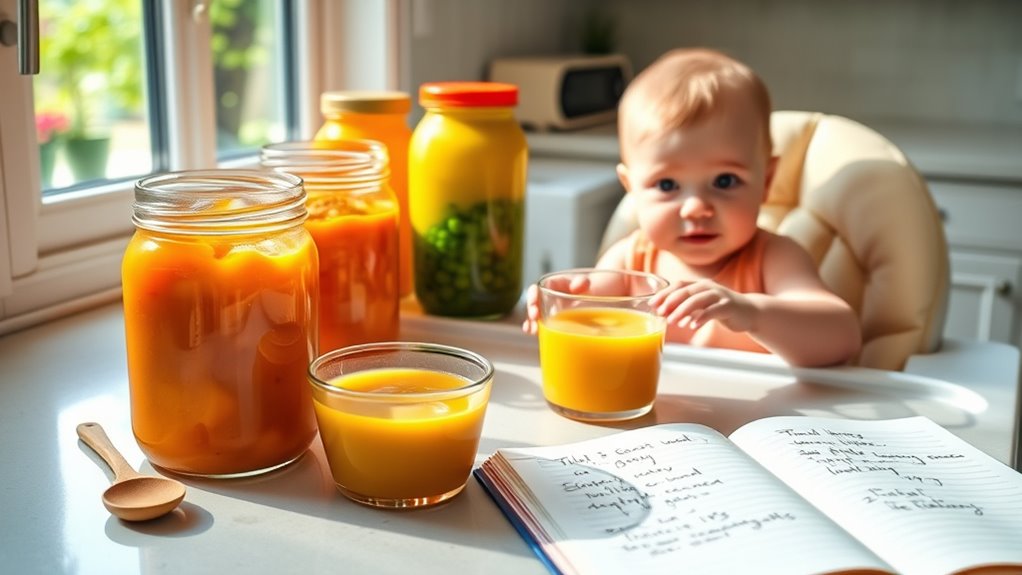
Keeping a food diary is a great way to document any allergic reactions and pinpoint problematic baby food. If you notice concerning symptoms, seek medical help immediately. Your baby’s safety comes first!
Monitor Feeding Preferences
After confirming your baby is safe from allergic reactions, it’s time to pay attention to their feeding preferences.
You should monitor their reactions to homemade baby food closely. Look for signs of preference, like reaching for certain foods or showing excitement. Keeping a food diary helps track which items they enjoy and any responses they have.
Gradually introduce new foods one at a time, waiting a few days between each to accurately assess their reactions. Notice any changes in bowel movements or fussiness, as these can indicate how well your baby is adapting to their diet.
Understanding your baby’s preferences will make mealtime more enjoyable for both of you and help confirm they’re getting the nutrition they need.
Frequently Asked Questions
Is It Really Cheaper to Make Your Own Baby Food?
Absolutely, it’s often cheaper to make your own baby food.
When you prepare it at home, you can save up to 50% compared to store-bought options. You’ll find that a single batch can yield multiple servings, cutting down on waste and cost.
Plus, you avoid the extra preservatives and fillers found in commercial products, ensuring your baby gets healthier meals for much less money.
It’s a win-win for both your wallet and your little one!
What Are the Easiest Foods for Babies to Eat?
When you’re choosing the easiest foods for babies to eat, think about options like avocado and mashed bananas.
They’re creamy and easy to digest, making them perfect for little ones. Pureed sweet potatoes and carrots also work well, offering essential nutrients and mild flavors.
Applesauce can introduce fruit without any additives, providing natural sweetness.
These foods not only simplify feeding but also guarantee your baby gets the nutrition they need for healthy growth.
What Is the Rule of 3 Baby Food?
The Rule of 3 in baby food means you introduce new foods in sets of three ingredients. This method helps diversify your baby’s palate while reducing allergy risks.
By combining a fruit, vegetable, and protein, you create balanced purees. You can try combinations like sweet potato, carrot, and chicken or banana, avocado, and yogurt.
This approach simplifies meal prep, letting you batch cook and freeze purees for future meals while monitoring for allergies.
How to Make Homemade Food for a 7 Month Old Baby?
Imagine you’re a chef crafting a delightful dish for a tiny connoisseur. To make homemade food for your 7-month-old, start with fresh, organic ingredients.
Blend or process vegetables and fruits into smooth purees, beginning with combinations like sweet potato and apple. Serve 1 to 2 tablespoons at first, gradually increasing as they adapt.
Store leftovers in airtight containers or freeze in ice cube trays, ready for their next culinary adventure!
Conclusion
Making your own baby food is not just a rewarding experience; it’s also healthier for your little one. Did you know that homemade baby food can contain up to 50% more nutrients compared to store-bought options? By preparing fresh, nutritious meals, you’re giving your baby the best start possible. Embrace the creativity and joy of crafting these simple recipes, and watch as your baby explores new flavors and textures. You’re not just feeding them; you’re nurturing their growth and development!