
To make homemade ice cream so good your friends won’t believe it’s made at home, start with high-quality ingredients and fully chill your base before churning. Use stabilizers or thickeners for extra creaminess and master gentle folding techniques. Experiment with bold flavors and add mix-ins at the right moment. Always use an ice cream maker for smooth texture, store properly, and finish with creative garnishes. Stick with these tips, and you’ll discover even more secrets to perfect ice cream.
Key Takeaways
- Use high-quality ingredients and ensure proper chilling of the base and equipment for a smooth, authentic texture.
- Incorporate stabilizers and master mixing techniques to prevent ice crystal formation and improve creaminess.
- Experiment with unique flavor combinations and follow proper freezing times for a velvety, professional result.
- Add mix-ins at strategic moments during churning to achieve even distribution and optimal flavor integration.
- Store and present your ice cream in airtight containers with creative garnishes for maximum freshness and visual appeal.
Use High-Quality Ingredients for Rich Flavor
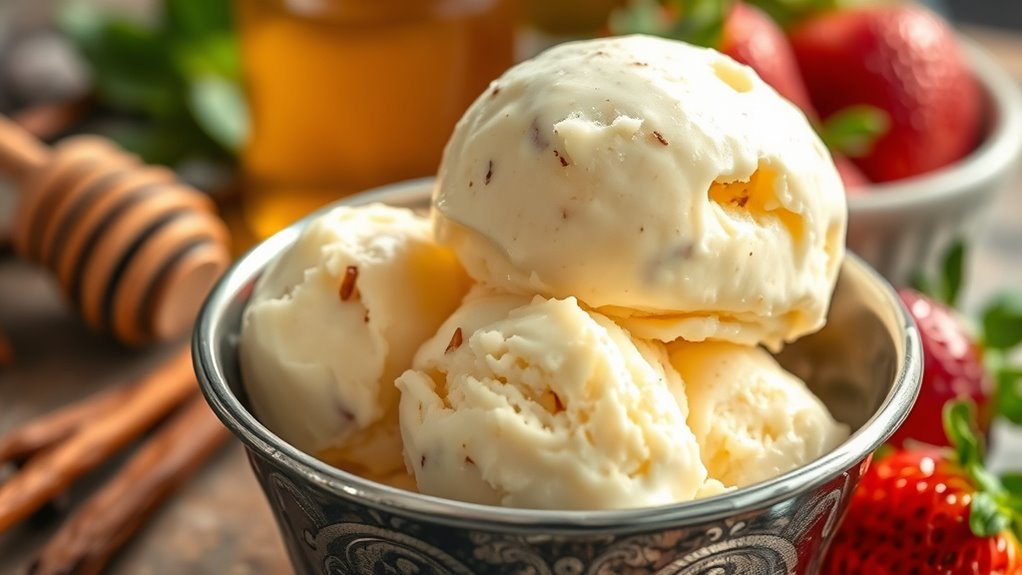
Using high-quality ingredients is the key to achieving rich, authentic flavor in your homemade ice cream. The ingredient quality directly impacts the flavor richness of your final product. Fresh, premium dairy like heavy cream and whole milk provide a smooth, creamy base that enhances every bite. When selecting flavorings, opt for real vanilla beans instead of extract, or use fresh fruit for fruit-based recipes. High-quality ingredients contain more natural flavor, so you won’t need as much to get that vibrant taste. Cheap or artificial ingredients can make your ice cream taste dull or overly sweet. Investing in good ingredients upfront ensures your ice cream stands out, impressing friends with its depth of flavor and homemade authenticity. Using premium ingredients truly make all the difference.
Chill Your Base Thoroughly Before Churning
Make sure your ice cream base is thoroughly chilled before churning; this helps develop a smoother texture. Use cold ingredients and keep your equipment in the freezer until you’re ready to mix. When everything is cold, your ice cream will churn more evenly and turn out creamier.
Use Cold Ingredients
To guarantee your ice cream turns out perfectly creamy and smooth, it’s vital to chill your base thoroughly before churning. Using cold ingredients helps maintain a low temperature, which is essential for proper freezing. When combining your dairy, sugar, and flavorings, make sure they are well chilled—this can be achieved with effective freezing techniques like ice baths or pre-cooling ingredients in the fridge. Cold ingredients reduce the risk of ice crystals forming unevenly, resulting in a silkier texture. Keep everything as cold as possible before pouring it into your ice cream maker. This step makes the churning process more efficient and helps you achieve that luscious, homemade quality you’re aiming for. Properly chilled ingredients set the foundation for irresistibly smooth ice cream. Ensuring your ingredients and equipment are properly prepared can further enhance the quality of your homemade treat.
Freeze Equipment Well
Before you start churning, make certain your ice cream maker’s bowl or freezer insert is thoroughly chilled. Proper freezer organization guarantees your equipment is always ready when needed, saving you time and maintaining consistent results. Keep your freezer well-maintained by regularly cleaning and checking for any ice buildup, which can impact freezing efficiency. A well-chilled bowl or insert helps your ice cream base freeze quickly and evenly, resulting in a smoother texture. Avoid rushing the process by skipping this step, as it can lead to unwanted ice crystals. Taking the time to freeze your equipment properly ensures better equipment maintenance and guarantees a creamy, professional-quality ice cream every time. Additionally, using automated insights from device sensors can help monitor freezer temperatures to optimize freezing conditions.
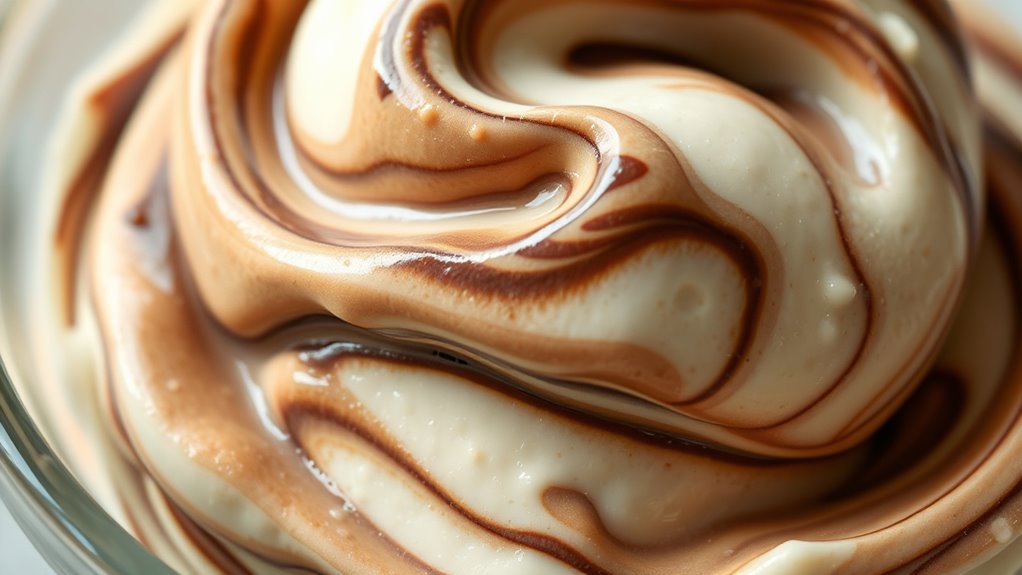
Incorporate Stabilizers or Thickeners for Creaminess
Incorporating stabilizers or thickeners into your ice cream mixture can substantially enhance its creaminess and texture. Stabilizer types, like gelatin, guar gum, or cornstarch, help prevent ice crystal formation, resulting in a smoother, richer dessert. Thicker benefits include improved body and mouthfeel, making your ice cream feel more luxurious. By adding a small amount of these ingredients, you’ll notice a significant difference in consistency without sacrificing flavor. Stabilizers also extend shelf life, keeping your ice cream fresh longer. Be sure to choose the right stabilizer for your recipe and use it in moderation. Proper incorporation techniques are essential for achieving the best results. With proper incorporation, your homemade ice cream will turn out irresistibly creamy and velvety, impressing even the most discerning friends.
Master the Art of Proper Mixing and Folding
Once your stabilizers are well mixed into the base, mastering proper mixing and folding techniques guarantees a perfectly smooth and airy ice cream. Use gentle mixing techniques to avoid deflating the mixture; stir just enough to combine ingredients evenly. When folding, employ careful folding methods—use a spatula to lift from the bottom and fold over the top, rotating the bowl as you go. This preserves the air that gives your ice cream its light texture. Avoid vigorous stirring, which can create ice crystals and make the ice cream dense. Keep the mixture chilled during the process, and don’t rush. Proper mixing techniques and delicate folding methods ensure your homemade ice cream stays creamy, fluffy, and irresistibly smooth. Additionally, selecting the right home theatre projector can enhance your viewing experience, making your homemade treats even more enjoyable while watching movies.
Experiment With Unique and Bold Flavor Combinations
Trying bold and unexpected flavor combinations can elevate your homemade ice cream from ordinary to extraordinary. Don’t shy away from experimenting with unique ingredient pairings that surprise the palate. For example, pair spicy chili with rich chocolate or combine tangy citrus with creamy coconut. These bold flavor choices add depth and excitement to your ice cream, making each scoop a memorable experience. Trust your instincts and test out unconventional pairings—you might discover a new favorite. Remember, the key is balancing flavors so one doesn’t overpower the other. Keep an open mind and be willing to experiment. Incorporating personality traits can also help you develop a more adventurous palate and refine your flavor combinations. With a little creativity, your homemade ice cream will stand out, delighting friends and family with each inventive bite.
Optimize Freezing Time for the Perfect Texture

Using the right chilling equipment makes a big difference in achieving the ideal ice cream texture. Patience during the freezing process allows the cream to develop a smoother, creamier consistency. Don’t rush—proper freezing time is key to making your homemade ice cream truly irresistible. Additionally, understanding the importance of freezing time can help you fine-tune your process for optimal results.
Chilling Equipment Matters
Choosing the right chilling equipment is essential for achieving that perfect, creamy ice cream texture. The right freezer or ice cream maker ensures your freezing methods work efficiently, preventing ice crystals and maintaining smoothness. To get the best results, prioritize equipment maintenance—regularly clean and check seals to avoid temperature fluctuations. Here are three ways to maximize your chilling setup: 1. Use a deep-freeze with a consistent temperature to prevent uneven freezing. 2. Invest in a quality ice cream maker with a well-chilled bowl for faster, uniform freezing. 3. Keep your equipment clean and dry to avoid ice buildup and ensure optimal performance. Ensuring your freezing environment remains stable is also crucial for consistent results.
Patience Enhances Cream
Patience is key to achieving that irresistibly smooth and creamy ice cream texture. Proper freezing time allows gelatin stabilization to set, giving your ice cream a firmer yet scoopable consistency. Using emulsification techniques ensures the fat and liquid components blend seamlessly, preventing ice crystals from forming and keeping the ice cream velvety. Rushing the process can result in a grainy texture or overly icy dessert. Instead, let your mixture freeze gradually, ideally for 4-6 hours or overnight. This allows the stabilizers and emulsifiers to work effectively, creating a uniform, luscious finish. Remember, the longer you wait, the better the final texture, so resist the urge to hurriedly serve and enjoy the full creamy richness of your homemade ice cream. Proper freezing time is essential for optimal texture and consistency.
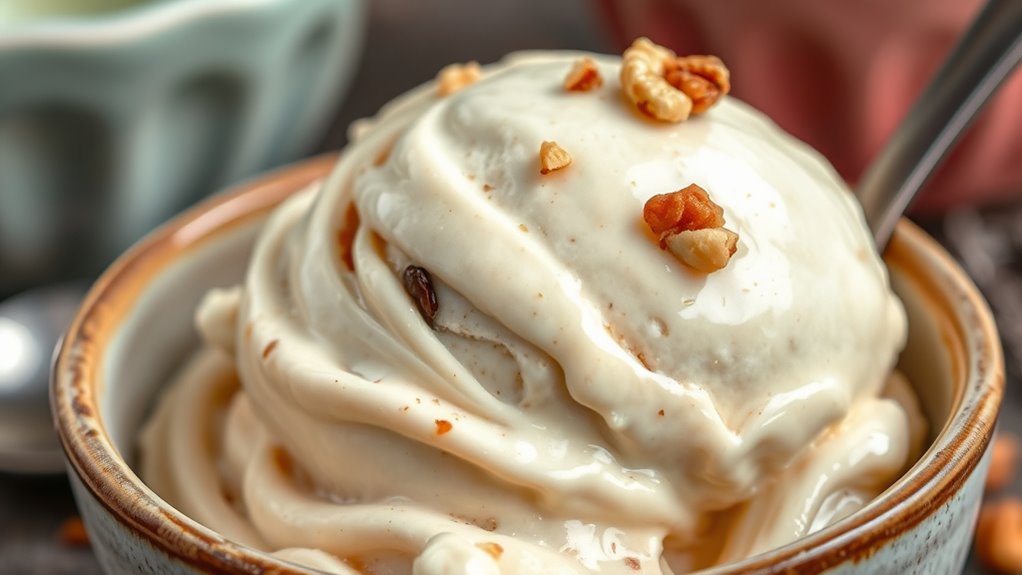
Use an Ice Cream Maker for Smooth Results

An ice cream maker is one of the best tools to achieve a smooth, creamy texture that rivals store-bought varieties. It consistently churns your mixture, preventing ice crystals and ensuring a velvety ice cream experience. With an ice cream maker, you can experiment with flavor pairing, creating unique combinations that elevate your dessert. Here are three reasons why it’s a game-changer:
An ice cream maker ensures smooth texture, prevents ice crystals, and unlocks creative flavor pairings for homemade perfection.
- It guarantees a perfect ice cream texture every time, making your homemade treat irresistibly smooth.
- It allows you to control ingredients, enhancing flavor richness and freshness.
- It speeds up the process, so you get to enjoy your delicious creation sooner, impressing friends with your skill and creativity.
Add Mix-ins at the Right Moment
Timing is key when adding mix-ins to make sure they stay flavorful and well-distributed. Choose the right moment, usually during the last few minutes of churning, to fold in your favorite chunks or swirls. Use even distribution techniques to keep every bite delicious and consistent. Incorporating mix-ins at the optimal time can also help prevent over-mixing, which might affect the texture of your ice cream air circulation.
Timing for Add-ins
Adding mix-ins at the right moment is essential to achieving that perfect, evenly distributed flavor and texture in your homemade ice cream. Timing matters, especially when adding fruit or flavor infusion. If you add fruit too early, it can become mushy or lose its vibrant color. Wait until the ice cream is almost fully churned, so the fruit stays fresh and maintains texture. For flavor infusion, fold in ingredients just before the final swirl to maximize flavor impact without compromising creaminess.
Here are three key tips:
- Add fruit during the last few minutes of churning for maximum freshness.
- Incorporate flavor infusions at the end to preserve their intensity.
- Mix in other add-ins when the ice cream is nearly ready for a balanced, delicious result.
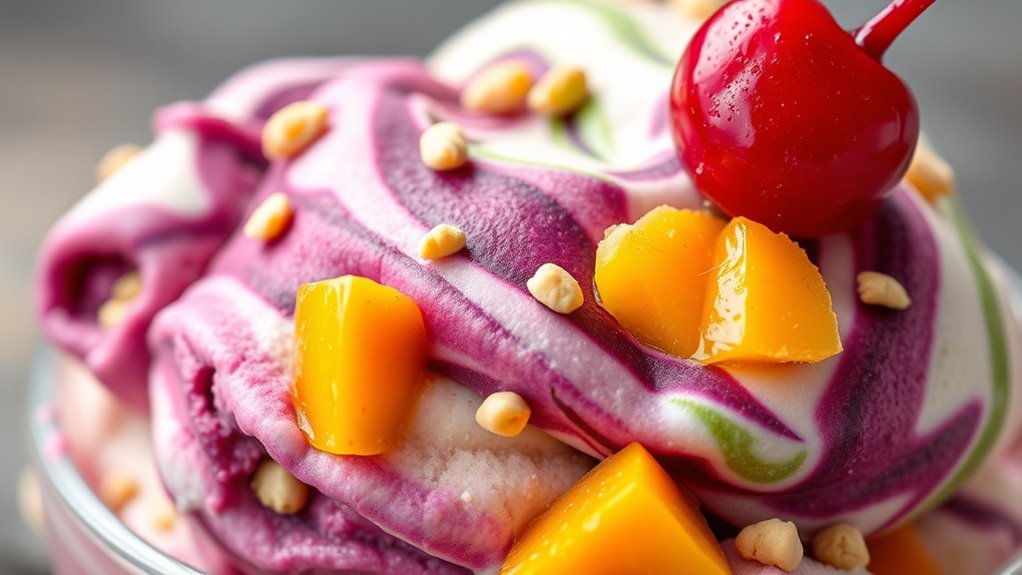
Types of Mix-ins
Choosing the right mix-ins and adding them at the perfect moment can elevate your homemade ice cream from good to unforgettable. Classic options include fruit infusions, which add fresh, vibrant flavors, and crunchy toppings for texture. Timing is key: fold in fruit infusions just before the ice cream firms up to prevent melting, while crunchy toppings should be added during the last few minutes of churning or right before serving. Here’s a quick guide:
| Mix-in Type | Best Addition Time | Example |
|---|---|---|
| Fruit infusions | Near the end of churning | Berries, mango chunks |
| Crunchy toppings | Last 2-3 minutes of churning or at serving | Nuts, cookie crumbles |
| Swirls | During churning | Chocolate, caramel |
| Candy pieces | Near the end or at serving | M&Ms, toffee bits |
| Fresh herbs | Right before serving | Mint, basil |
Adding tuning techniques can help you customize your ice cream even further, ensuring it’s perfectly suited to your taste preferences.
Even Distribution Techniques
To guarantee your mix-ins are evenly distributed throughout your homemade ice cream, incorporate them at strategic moments during the churning process. Timing is key to maintaining proper ingredient ratios and ensuring each spoonful delivers the perfect balance. By adding mix-ins gradually, you maintain portion control and prevent clumping or sinking.
Here are three tips to perfect your technique:
- Add delicate mix-ins halfway through churning to prevent overmixing and preserve texture.
- Stir in chunkier ingredients near the end for even distribution without damaging the ice cream’s consistency.
- Pause periodically to gently fold in ingredients, ensuring every bite has a fair share.
- Incorporate best animation movies for inspiring ideas on how to present your homemade ice cream in creative ways.
Following these steps boosts your confidence and guarantees a professional-looking, irresistibly balanced homemade ice cream.
Store Your Ice Cream Properly to Maintain Freshness

Proper storage is essential to keep your homemade ice cream fresh and delicious. Use airtight storage containers to prevent ice crystal formation and freezer burn. Always label your containers with dates so you can track freshness and consume older batches first. Keeping your ice cream at a consistent, cold temperature is key—avoid frequent opening of the freezer. Store it in the main compartment, not the door, to prevent temperature fluctuations.
| Storage Tip | Why It Matters | Best Practice |
|---|---|---|
| Use airtight containers | Prevents freezer burn | Seal tightly after each use |
| Label with dates | Tracks freshness | Write date on every container |
| Keep in the main freezer | Maintains consistent cold | Place away from door shelves |
| Avoid frequent opening | Preserves texture and flavor | Open only when needed |
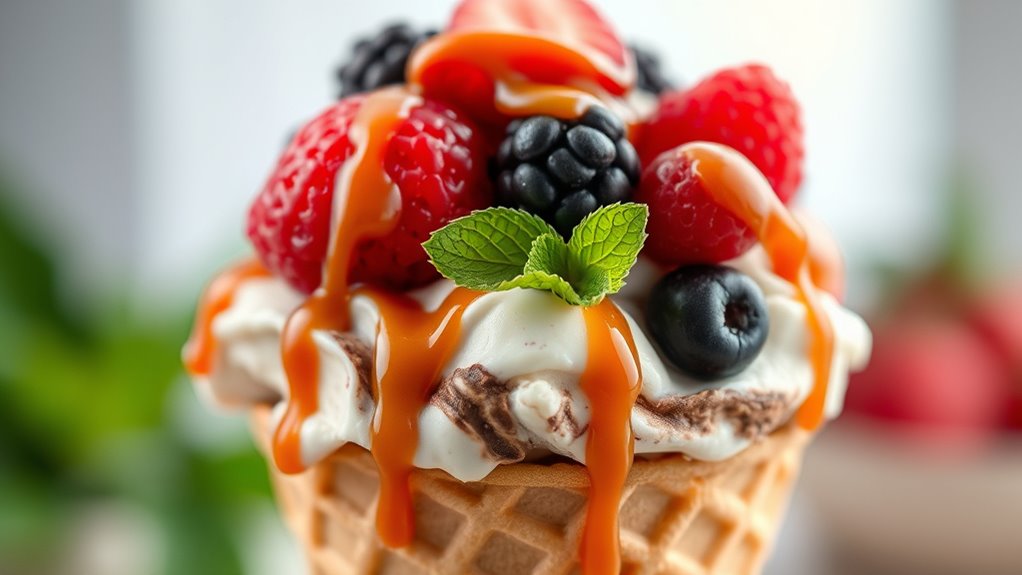
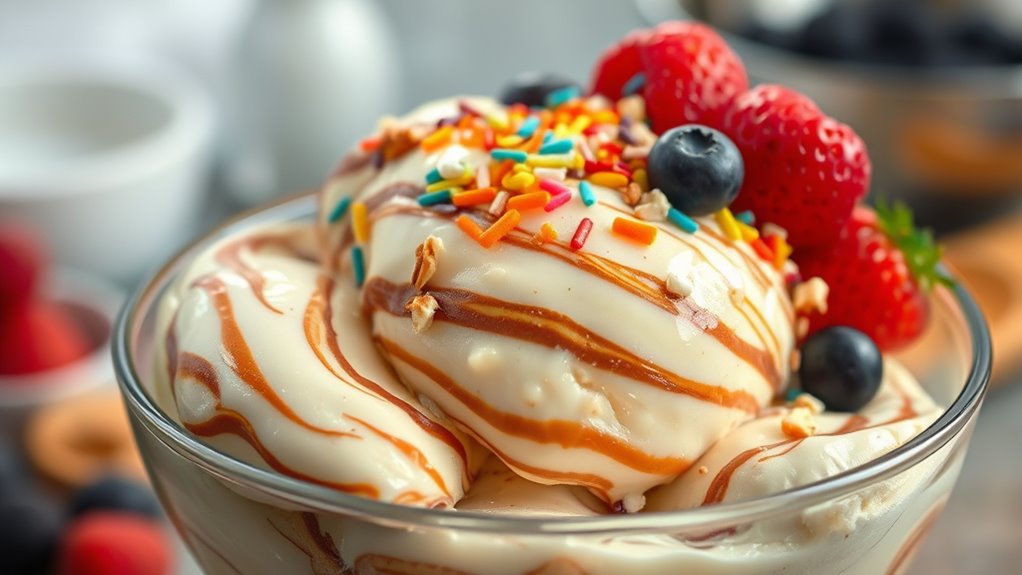
Garnish and Serve Creatively to Impress
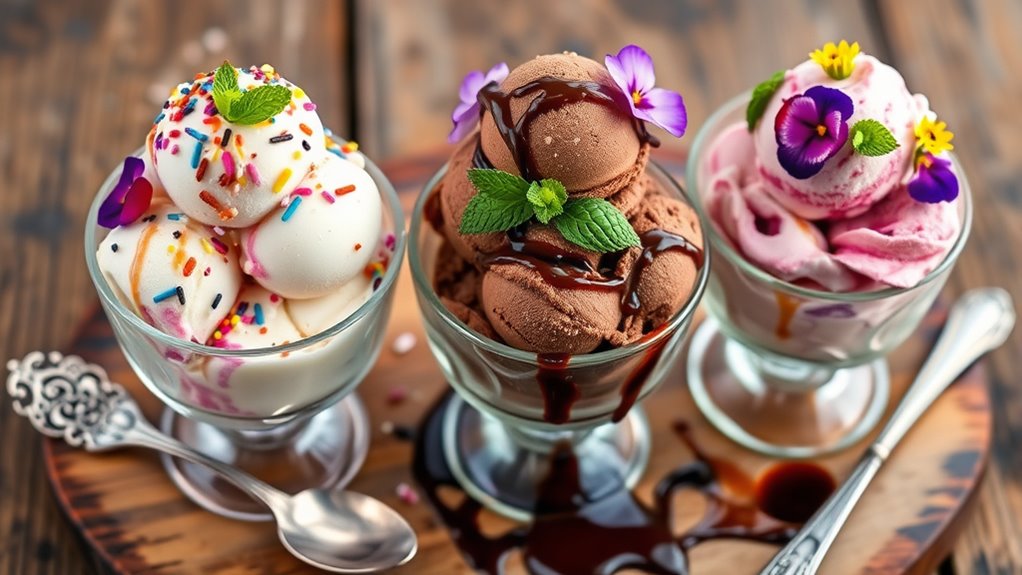
Once you’ve stored your homemade ice cream properly, it’s time to impress with creative garnishes and presentation. A beautiful, eye-catching display makes your dessert stand out. Try these ideas:
- Use colorful, decorative toppings like fresh berries, chopped nuts, or chocolate shavings to add texture and visual appeal.
- Create a swirl of caramel or fruit sauce on top, enhancing flavor while adding a vibrant touch.
- Serve in stylish bowls or cones, topped with a sprig of mint or a cherry for an elegant finish.
- Incorporate visual presentation techniques by arranging toppings thoughtfully to create a balanced and appealing look.
These simple touches elevate your dessert’s visual appeal and showcase your creative presentation skills. Decorative toppings and thoughtful serving techniques turn a basic scoop into a show-stopping treat your friends will love.
Frequently Asked Questions
Can I Make Dairy-Free or Vegan Ice Cream at Home?
Absolutely, you can make dairy-free or vegan ice cream at home. Just swap out dairy ingredients with dairy-free options like coconut milk, almond milk, or cashew cream. Use natural sweeteners and flavorings to enhance the taste. With the right dairy-free ingredients, you can create delicious vegan ice cream that’s just as creamy and satisfying as traditional versions. Experiment with different flavors to find your perfect homemade treat!
What Are Some Natural Alternatives to Stabilizers and Thickeners?
When looking for natural stabilizer options, plant-based thickeners are your best bet. You can use ingredients like chia seeds, flaxseed gel, or agar-agar to give your ice cream that creamy texture without artificial additives. These natural stabilizer options help prevent ice crystals and improve consistency. Simply blend a small amount into your mixture, and you’ll get a smooth, delicious homemade ice cream that’s both healthy and irresistible.
How Do I Prevent Ice Crystals From Forming in My Homemade Ice Cream?
To prevent ice crystals in your homemade ice cream, focus on proper freezing techniques and storage tips. Make sure to churn the mixture well to break up ice crystals early on, and transfer it to an airtight container. Cover the surface with plastic wrap before sealing to minimize air exposure, which helps reduce crystallization. Regularly stir or serve the ice cream to keep it smooth, and keep it consistently frozen at the right temperature.
What’s the Best Way to Achieve a Soft-Serve Texture?
To get that soft-serve texture, focus on soft serve techniques like churning your ice cream just enough to keep it smooth and creamy. Use ingredients like stabilizers or added fats for texture enhancement, which help prevent ice crystal formation and create a velvety consistency. Chill your mixture thoroughly before churning, and don’t over-freeze it. These steps guarantee you attain that irresistible, soft-serve quality every time.
How Can I Customize Ice Cream Flavors for Special Dietary Needs?
Your ice cream can be a flavor paradise, even for special dietary needs! You should experiment with ingredient substitutions like coconut milk for dairy allergies or agave syrup for vegans. Use smart flavor pairing to create delicious combinations that suit your diet. Customizing is fun—just swap ingredients and taste test until you find the perfect match. Your homemade ice cream will impress everyone, showing how adaptable and tasty it can be!
Conclusion
So go ahead, craft that homemade ice cream that’ll make your friends question your sanity—and perhaps your freezer’s magic. Just imagine them staring in awe as you reveal a scoop so rich, so velvety, they’ll wonder if you’ve secretly hired an ice cream wizard. With these tips, your kitchen will transform into a frosty wonderland where ordinary desserts fear to tread. Now, scoop up that spoon and dazzle away—your taste buds will thank you.