
To make perfect ice cream at home every time, focus on using high-quality ingredients like fresh dairy or plant-based options, and guarantee your mixture is smooth and well-chilled before freezing. Proper churning prevents ice crystals, and storing your ice cream in airtight containers at a consistent temperature keeps it creamy and scoopable. For even better results, incorporate stabilizers or alcohol to enhance texture. Keep an eye on techniques, and you’ll master consistent, homemade ice cream—more tips await if you continue.
Key Takeaways
- Use high-quality ingredients and ensure thorough chilling of all components for a smooth, creamy base.
- Churn the mixture consistently and incorporate stabilizers or alcohol to prevent ice crystal formation.
- Freeze in airtight, well-sealed containers at a consistent, cold temperature for optimal texture.
- Allow the ice cream to soften slightly at room temperature before serving for better scooping.
- Monitor storage conditions and avoid temperature fluctuations to maintain freshness and prevent ice crystals.
Selecting the Right Base Ingredients for Creamy Ice Cream
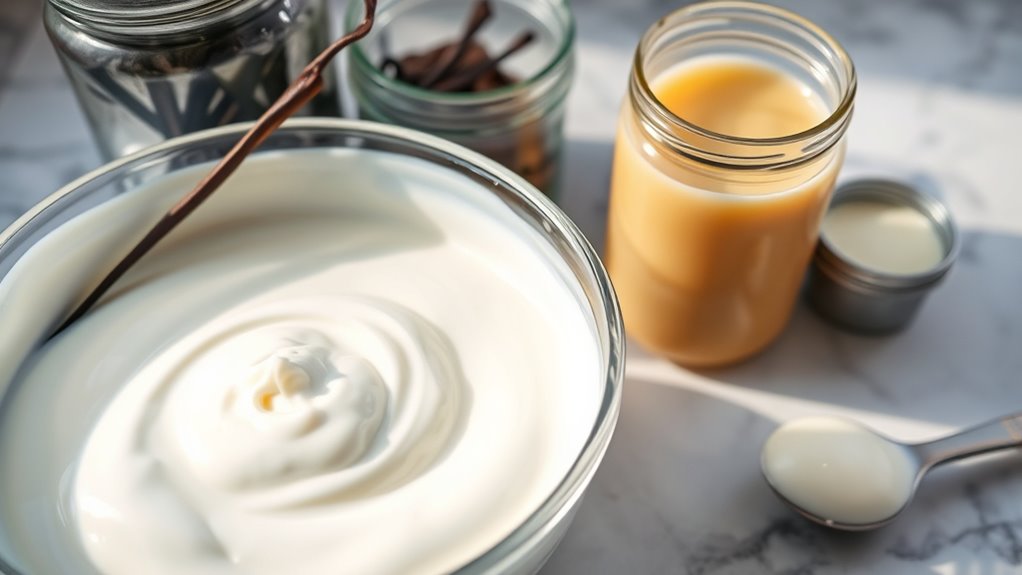
Choosing the right base ingredients is essential for achieving a creamy, smooth ice cream at home. Start with a good dairy base, like heavy cream and whole milk, for classic richness. If you prefer dairy alternatives, options like coconut milk, almond milk, or cashew cream work well and add unique flavors. Incorporating fruit infusions can elevate your ice cream, giving it fresh, natural sweetness and vibrant flavor. Blend fruits into your base or swirl them in after churning. Remember, the quality of your ingredients makes a difference—fresher produce and premium dairy or plant-based options will result in better texture and taste. Recognizing deep connections through angel numbers can also inspire your culinary creativity by encouraging openness to new ideas and experiences. By selecting versatile, high-quality bases, you set a solid foundation for creating delicious, creamy ice cream every time.
Mastering the Perfect Ice Cream Base Mixture

To create a smooth, creamy ice cream base, you need to master the balance of ingredients and proper mixing techniques. Start with quality dairy and sweeteners, then incorporate stabilizers if desired. Achieving the right consistency is key to supporting ice cream flavor variations and ensuring a rich texture. Incorporating stabilizers can help improve texture and prevent ice crystal formation, leading to a creamier final product. A well-made base also supports your ice cream marketing strategies by showcasing premium quality. Perfecting this mixture ensures your ice cream remains irresistible, whether you’re introducing new flavors or boosting sales through appealing presentation. Mastering the base is essential for consistent, homemade perfection.
Essential Tips for Proper Chilling and Mixing
Make sure to chill your ingredients thoroughly before mixing to guarantee your ice cream freezes smoothly. When combining the ingredients, stir well to create a consistently creamy texture. Proper chilling and thorough mixing are key to achieving that perfect, velvety ice cream at home. Additionally, choosing the right tuning upgrades can optimize your equipment for better performance, ensuring consistent results every time.
Chill Ingredients Properly
Ensuring your ingredients are properly chilled before mixing is essential for achieving smooth, creamy ice cream. Proper cold storage helps prevent unwanted ice crystal formation and guarantees a consistent texture. To optimize refrigeration timing, plan ahead and refrigerate your base mixture for at least 4 hours or overnight. Keep these tips in mind:
- Store dairy and flavorings in the fridge until ready to use
- Chill mixing bowls and utensils in cold storage beforehand
- Use a thermometer to confirm ingredients are below 40°F (4°C)
- Avoid rushing the chilling process; patience results in better texture
- Understanding contrast ratio in your equipment can help you better control the visual quality of your homemade ice cream.
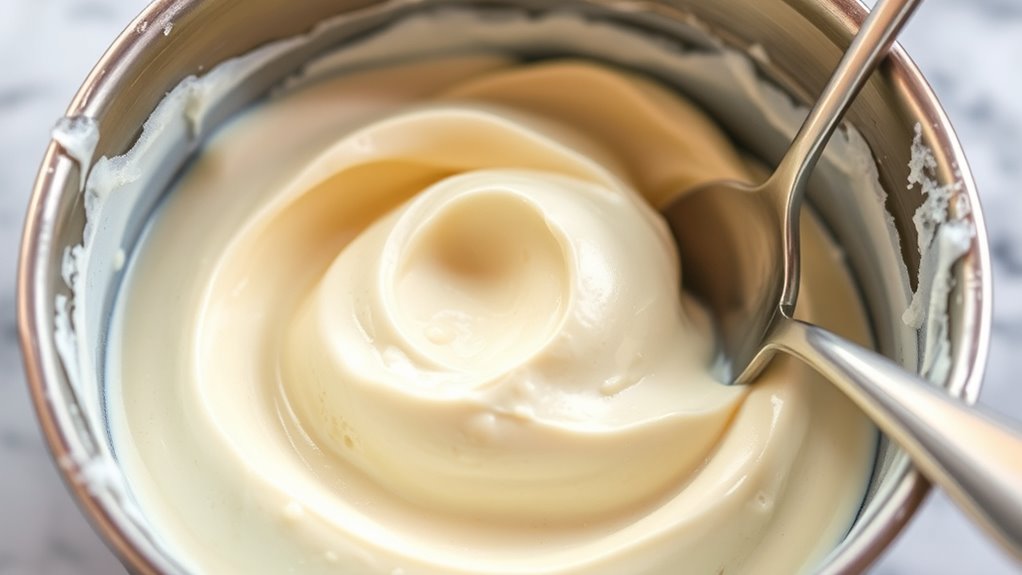
Mix Thoroughly for Creaminess
Achieving a smooth, creamy ice cream relies on mixing your ingredients thoroughly to incorporate air and evenly distribute flavors. When you mix thoroughly, you guarantee that everything combines seamlessly, preventing icy or grainy textures. Use a sturdy whisk or a blender to blend your mixture until it’s smooth and uniform. Proper mixing helps achieve creaminess by breaking down fats and sugars evenly throughout the base. Don’t rush this step—take your time to ensure all ingredients are well incorporated. This process also helps incorporate air, giving your ice cream a light, velvety texture. Remember, the better you mix, the creamier your final product will be. So, focus on thorough mixing to achieve that perfect, indulgent consistency every time. Automation technologies in food production can also assist in maintaining consistent mixing processes for optimal results.
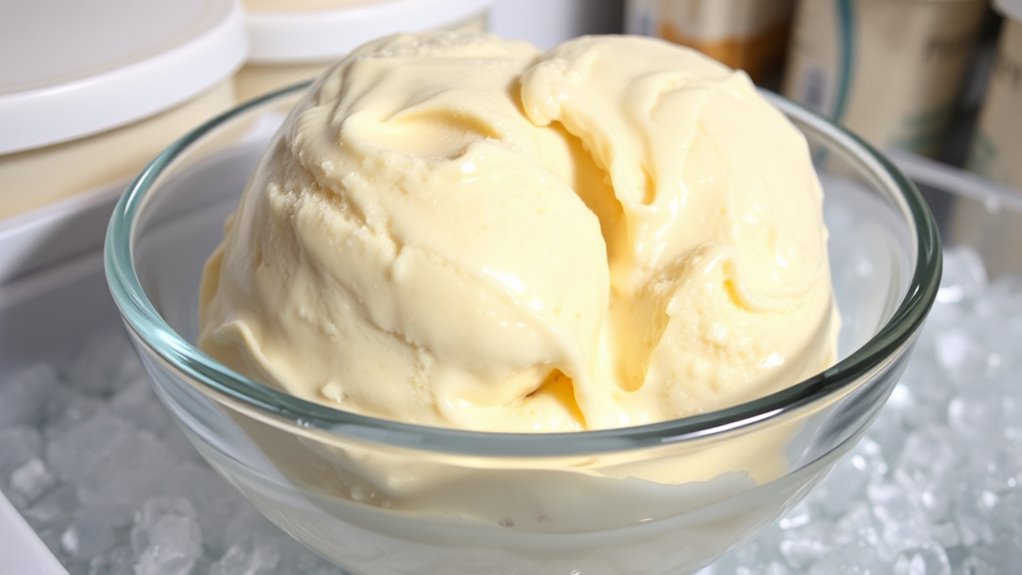
Techniques for Achieving a Smooth, Scoopable Texture
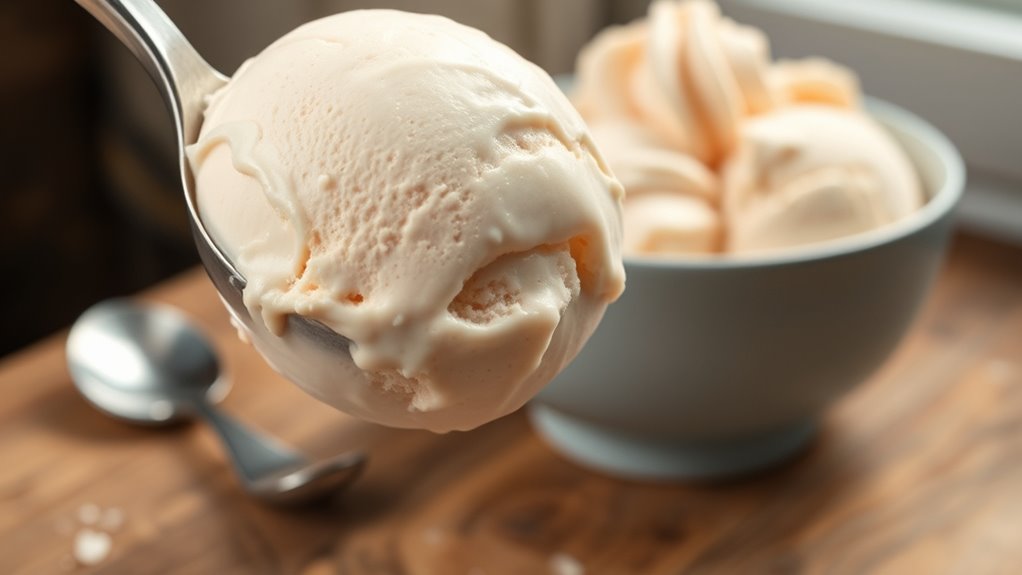
Getting the right texture for your homemade ice cream often comes down to controlling the ingredients and process. To achieve a smooth, scoopable consistency, consider these techniques:
- Use a stabilizer like alcohol or guar gum to prevent ice crystal formation.
- Incorporate sugar alternatives or natural sweeteners to improve texture and sweetness.
- For dairy-free options, choose coconut milk or cashew cream, which create a creamy base.
- Regularly churn your mixture to break up ice crystals and promote smoothness.
- Ensuring proper storage conditions can also help maintain the ideal texture by preventing ice crystals from forming during freezing.
Additionally, let your ice cream soften slightly at room temperature before scooping. This helps it become more pliable without melting. By balancing ingredients and using proper churning techniques, you’ll get a silky, scoopable texture every time.
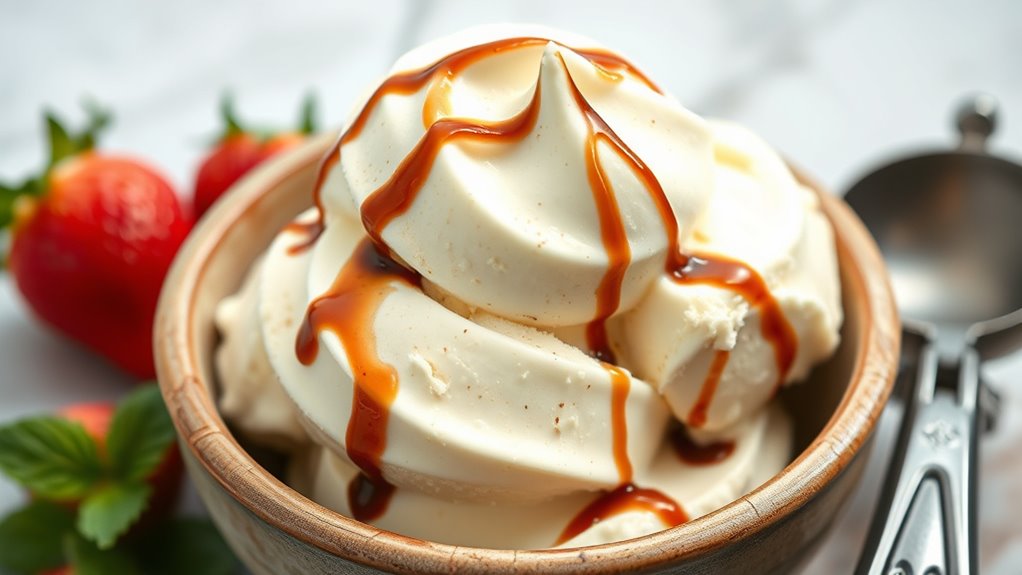
Flavoring and Add-ins: Customizing Your Creations
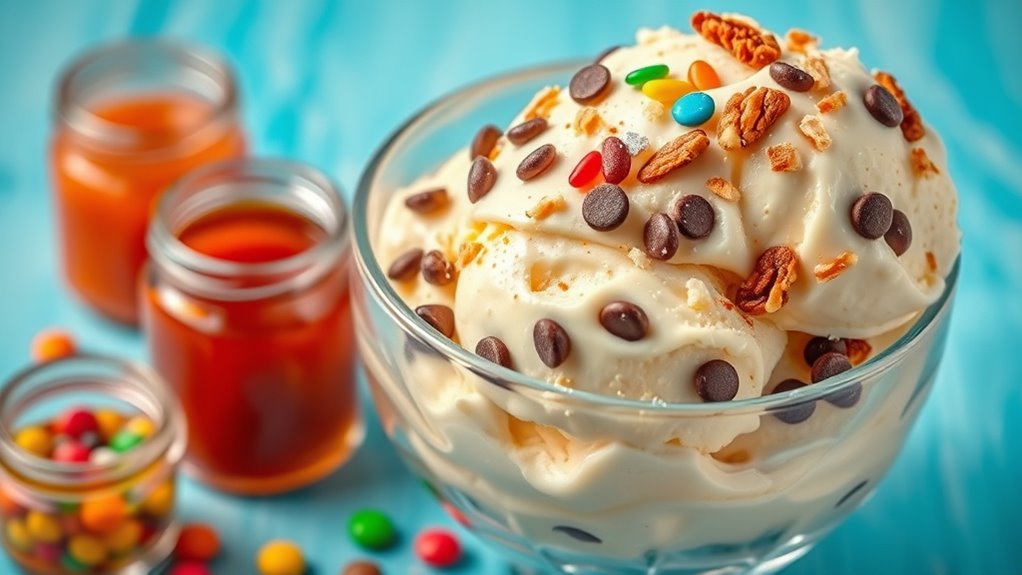
Adding flavorings and mix-ins is your chance to personalize each batch of homemade ice cream. With creative add-in ideas, you can craft unique flavor combinations that suit your taste. Think beyond traditional options—try swirls of caramel, chunks of cookies, or fresh fruit pieces. Incorporate spices like cinnamon or ginger for an extra kick. Nuts, chocolate chips, or even candy pieces add texture and surprise with every scoop. You can also experiment with extracts such as vanilla, almond, or peppermint to enhance flavors. The key is balancing ingredients to ensure they complement your base. These customizations make your ice cream memorable and tailored to your preferences, turning simple homemade ice cream into a delightful, personalized treat every time. Additionally, understanding the wealth of female singers and their earnings can inspire you to explore luxurious ingredients or unique flavor profiles that elevate your creations.
Freezing and Storage Tips for Freshness and Texture
To keep your ice cream fresh and creamy, using the right freezing techniques and containers is crucial. Properly sealing your ice cream prevents ice crystals from forming and preserves its texture. By following these tips, you’ll enjoy homemade ice cream that tastes just as good as store-bought. Additionally, selecting appropriate storage containers designed for freezing can help maintain optimal freshness and prevent freezer burn.
Optimal Freezing Techniques
For the best results, guarantee your ice cream is stored properly to maintain its freshness and smooth texture. Start by choosing the right ice cream packaging options—airtight containers prevent freezer burn and preserve flavor. When freezing, allow your ice cream to chill quickly by placing it in the coldest part of your freezer. For ideal texture, avoid frequent temperature changes; keep it consistently frozen. To enhance your ice cream flavor combinations, consider layering different flavors or adding mix-ins before freezing. Use a spatula to smooth the surface for even freezing. Label your containers with the date for freshness tracking. Proper freezing techniques ensure your homemade ice cream stays creamy and delicious longer, making every scoop a delightful experience. Maintaining optimal freezer conditions helps preserve the quality and texture of your ice cream over time.
Proper Container Selection
Choosing the right container is essential to keep your homemade ice cream fresh and maintain its smooth texture. You want a container with good container durability that can withstand repeated freezing without cracking or warping. Opt for containers with tight-fitting lids to prevent air from entering, which can cause ice crystals and freezer burn. Consider eco-friendly options like reusable silicone or glass containers to reduce waste and protect the environment. These materials are often more durable and better at preserving flavor and texture. Avoid flimsy or poorly sealed containers, as they can compromise your ice cream’s quality over time. Selecting a sturdy, eco-conscious container ensures your ice cream stays fresh, smooth, and delicious for longer periods, making every batch worth savoring. Additionally, proper insulation can help maintain the ideal temperature and prevent temperature fluctuations that negatively affect texture.
Preventing Ice Crystals
Proper storage techniques can make a significant difference in keeping your homemade ice cream fresh and smooth. To prevent ice crystals, focus on controlling moisture and ensuring proper air circulation. Keep your ice cream in an airtight container to minimize moisture exposure, which causes crystals. Cover the surface with plastic wrap before sealing the lid to avoid air pockets. Avoid frequent opening to maintain a stable temperature. Store your ice cream at a consistent, cold temperature to prevent melting and refreezing, which promotes crystals. Additionally, consider these tips:
- Use a shallow, wide container for quicker freezing and better air circulation.
- Wrap tightly to prevent moisture and air exchange.
- Keep the freezer at the right temperature, ideally around 0°F (-18°C).
- Avoid leaving the container open for extended periods.
- Regularly check your freezer’s temperature settings to ensure optimal storage conditions.
Troubleshooting Common Homemade Ice Cream Issues

When homemade ice cream doesn’t turn out as expected, identifying the root of the problem can save you time and frustration. If your ice cream is too icy or hard, it might be due to over-freezing or insufficient churning. Using sugar substitutes or vegan options like coconut milk can sometimes affect texture if not balanced properly; make sure to adjust the sweetness and fats accordingly. For a creamier consistency, add a little alcohol or use stabilizers. If your ice cream is too soft, it may need more time in the freezer or better mixing during churning. Remember, ingredient substitutions can impact texture and flavor, so experiment carefully. Additionally, understanding the 16PF traits can help in optimizing recipes based on personal preferences or specific dietary needs. Troubleshooting these common issues ensures your homemade ice cream always turns out smooth, creamy, and delicious.
Frequently Asked Questions
Can I Make Dairy-Free Ice Cream at Home?
Yes, you can definitely make dairy-free ice cream at home. Just use dairy alternatives like coconut milk, almond milk, or cashew cream as your base. These ingredients work perfectly for vegan ice cream recipes, giving you creamy textures without dairy. Simply blend your chosen dairy alternative with sweeteners and flavorings, then freeze. With a little patience, you’ll enjoy delicious homemade dairy-free ice cream whenever you crave it.
How Long Does Homemade Ice Cream Typically Last?
Think of your homemade ice cream’s storage duration as a gentle reminder to enjoy it while it’s fresh. Typically, it stays good for about 1 to 2 months in the freezer, maintaining its flavor and texture. After that, its quality may decline. To maximize freezer life, store it in an airtight container and avoid frequent temperature changes. So, savor your creation before it begins to lose its magic!
What’s the Best Way to Prevent Ice Crystals?
To prevent ice crystal formation, you should use proper freezing techniques like regularly stirring your ice cream during initial freezing and storing it in an airtight container. These methods help minimize large ice crystals, ensuring smooth texture. You can also add alcohol or sugar to lower the freezing point, which helps keep the ice cream soft. Consistent freezing practices and avoiding temperature fluctuations are key for a creamy, crystal-free result.
Can I Use a Blender Instead of an Ice Cream Maker?
Think of your blender as a wild stallion—powerful but sometimes unpredictable. You can use it instead of an ice cream maker, but expect some texture differences. A blender blends ingredients quickly, creating a smoother, softer ice cream, while an ice cream maker churns to incorporate air and develop creaminess. For best results, freeze your mixture thoroughly and blend in short bursts to avoid melting.
How Do I Make Low-Sugar or Keto-Friendly Ice Cream?
To make low-sugar or keto-friendly ice cream, you can use sugar substitutes or keto sweeteners like erythritol, monk fruit, or stevia. Blend these with heavy cream, eggs, and your favorite flavorings, then freeze. These sweeteners mimic sugar’s sweetness without the carbs, making your ice cream suitable for keto diets. Just verify you taste as you go to achieve the perfect balance of sweetness.
Conclusion
Now that you know the secrets to perfect homemade ice cream, you’re all set to impress your friends and family. Remember, with just a few simple steps, you can create creamy, scoopable treats every time. Did you know that over 90% of Americans enjoy ice cream at least once a year? So go ahead—experiment with flavors, master your technique, and enjoy delicious, custom-made ice cream whenever you crave it!